 Knowing how to distress furniture comes in handy when you want to blend new or handmade furnishings with vintage or antique furnishings. Specific DIY distressing techniques provide nearly unlimited alternatives to sprucing up old pieces, customizing garage or estate sale finds and upcycling thrift store or free-on-the-curb furniture. If you want to add a timeless air to your own belongings, this guide helps you get the makeover results you want by defining different distressing styles and providing step-by-step guidance for how to distress furniture.
Defining Distressed Furniture
Distressed furniture refers to pieces that have been deliberately weathered or damaged to give them an older appearance. Many methods exist for adding the look of wear and tear, with some requiring sandpaper, paint strippers and various distressing mediums. Finished pieces typically exude vintage flair in cottage or shabby-chic rooms or bring rustic beauty to farmhouse or country-style spaces. Additionally, distressed furniture techniques imbue furnishings with one-of-a-kind style to help you personalize your home decor. While wood proves especially well-suited to distressing techniques, other materials also handle it well, including:
- Concrete
- Glass
- Metal
- Stone
- Plaster
- Plastic
Styles Well-Suited to Distressing
Many styles of furniture take well to distressing techniques, making them a flexible way to enhance furnishings. Simple weathered wood frames offer a beautiful way to accent old-fashioned photographs, while primitive buffets and sideboards fit flawlessly with lodge-style home decor. Adding signs of wear to newly built mid-century modern tables helps them pair perfectly with the real deal, and imbuing antique bedroom suites with a patina helps them mesh well with treasured family heirlooms. Distressed furniture runs the gamut from farmhouse and country to rustic and nautical, providing nearly limitless options for customizing your living space.
Decorating with Distressed Furniture
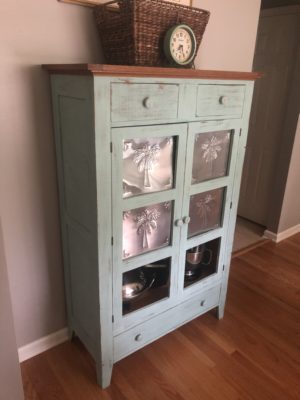
Decorating with distressed furnishings can be as elaborate as entire rooms filled with themed furniture or as simple as adding an accent piece to contemporary home decor. For example, farmhouse kitchens benefit from wire-brushed bakers racks and whitewashed or pickled cabinets, while sitting rooms may only require a crackle-finished urn to complete a classic look. Whether you want to make over your whole home or just bring a touch of hominess to certain spaces, learning how to distress furniture and furnishings adds a useful skill to your home decor tool belt.
How to Distress Furniture
The steps you use when learning how to distress furniture are fairly simple and straightforward. Typically, this DIY project begins like any other with preparing your space and cleaning your piece, but actual distressing techniques vary, depending on how you want your final result to look. This furniture distressing tutorial walks you through many common techniques so you can decide what’s best for your DIY project.
Preparing Your Work Area
Before you start your DIY distressed furniture project, you need to prepare your work area. First, tape off any portion of the piece of furniture you’re distressing with masking or painters tape, then put down a tarp or drop cloth to protect your flooring.
Cleaning and Sanding the Surface
Once you’ve prepared your space, it’s time to clean the wall, object or piece of furniture you wish to distress. An easy way to remove all the dirt and grime, especially on actual old pieces, is by using Tri-Sodium Phosphate. When you’ve wiped the surface down completely, fill any holes and sand down any rough spots that don’t work with your distressing aesthetic. If you spot any metal stains and want to remove them, consider using Oxalic Wood Bleach by the Real Milk Paint Co. before you move on to the furniture painting step.
Distressing Wood Via Damage
While many furniture distressing techniques are designed for use after painting, most makeovers require damaging the surface before you paint. You can start by using imperfect wood for DIY projects that’s already distressed to a degree, or you can choose woods that mar easily and damage them yourself. Soft woods in particular take well to wire brushing, and you can do this by attaching a wire brush to an electric drill and using it to create deeper grooves in the surface to mimic the look of weathered barn wood. Other techniques include beating the wood with a chain to leave subtle indentations or hitting it with a rag filled with sharp nails to add small yet deep divots. When you get the results you require, move on to the painting phase.
Painting Your Piece
Before painting the piece of furniture you want to distress with Real Milk Paint, consider the results you want. For instance, if you want a layered paint effect, you may want to mix both hues at the same time, adding our Anti-Foaming Agent to the first batch you’re using while letting the other color settle naturally. Our Real Milk Paint powder mixes at a 1:1 ratio with water, so you can quickly mix up as little or as much as you need, and if you want to use it on patio furniture or landscaping elements, our Outdoor Additive gives it extra resistance to mildew and bleed through from wood knots.
Once you’ve mixed up the formulation to the consistency you require, you’re ready to paint. To get a smooth surface without brush marks, use a foam roller, and to get a traditionally painted look, use standard paintbrushes to complete the task. Real Milk Paint dries quickly, so you don’t have to wait long after painting the first coat before adding the second one. If you’re using layering techniques, hold off on that second coat, though, until you’ve distressed the area to your satisfaction.
Adding Distressed Effects
Myriad ways exist for DIYers to achieve distressed furniture effects, depending on the results you desire. It helps to consider the entire piece before deciding which distressing techniques to use and gather the supplies you require before you begin.
Paint Stripper
If you have a piece of furniture already painted with multiple coats, using the paint stripper distressing technique may prove just the thing for your DIY project. First, don protective gear such as gloves and an apron, then liberally apply paint stripper such as our Soy-Gel Paint Remover to the surface you’re distressing. Wipe it away before it sinks down into the lower layers to get a well-weathered look that doesn’t require lots of scraping or rubbing. Another advantage of our Soy-Gel product is that it encapsulates any harmful lead that might be present in previously painted layers on used furnishings.
Sandpaper
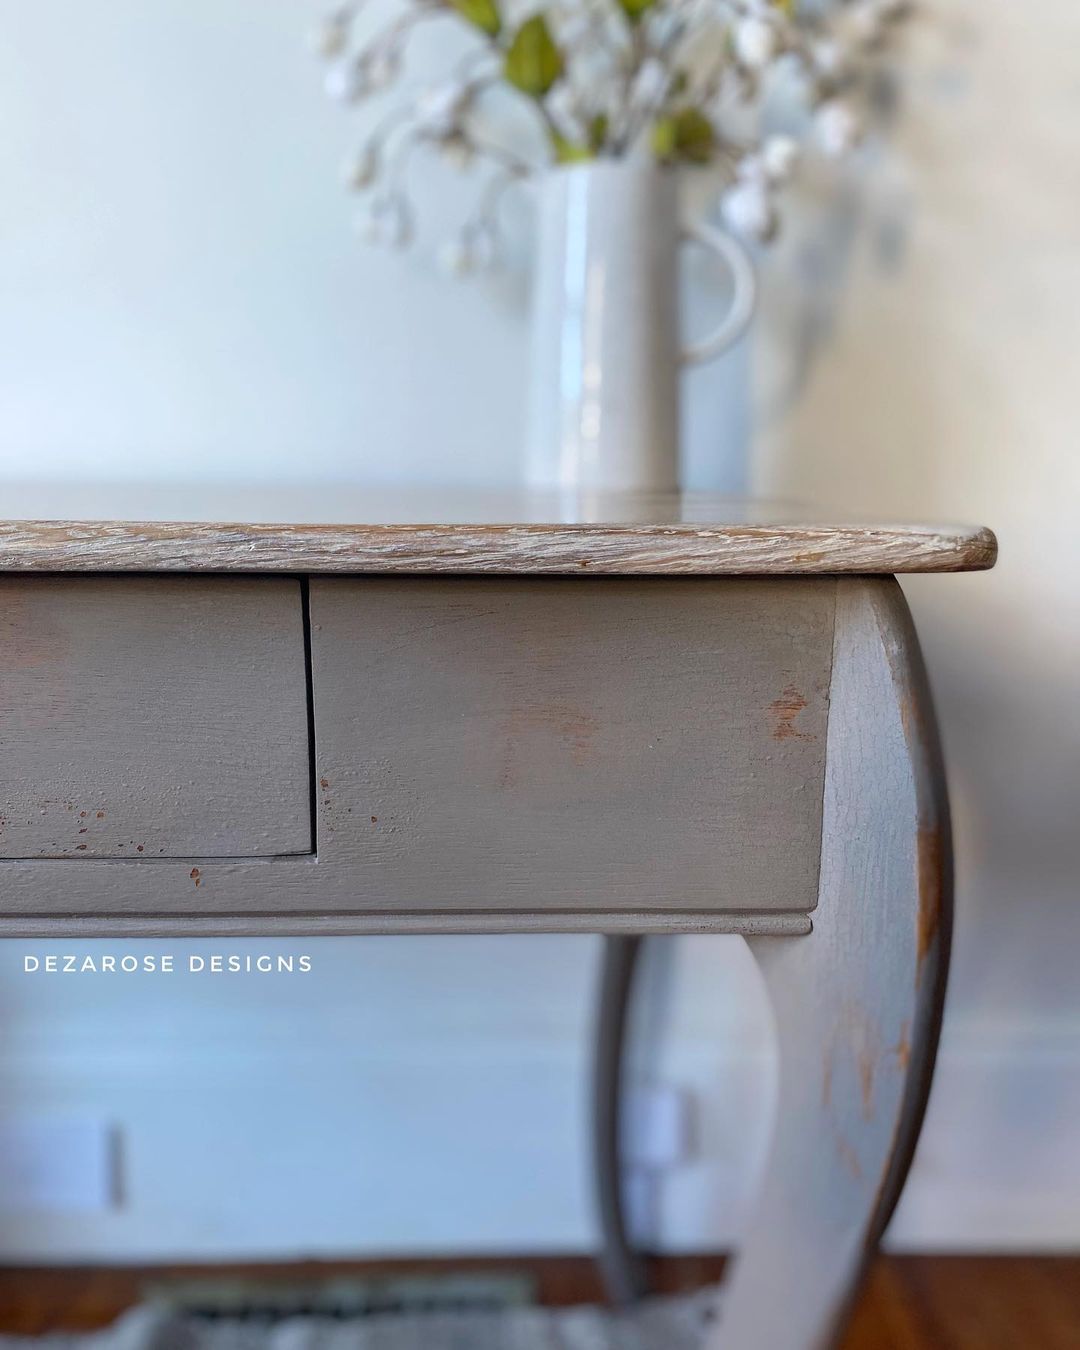
Using sandpaper to scrub away paint in strategic spaces is one of the simplest ways to achieve a weathered effect. Just rub the piece you’re distressing with the sandpaper randomly, or choose frequently touched areas such as drawer edges and fronts for a more naturally aged look. Keep in mind that fine 180-grit sandpaper is typically used for distressing furniture, though you can experiment with rougher sandpaper if you wish to create a more heavily aged effect.
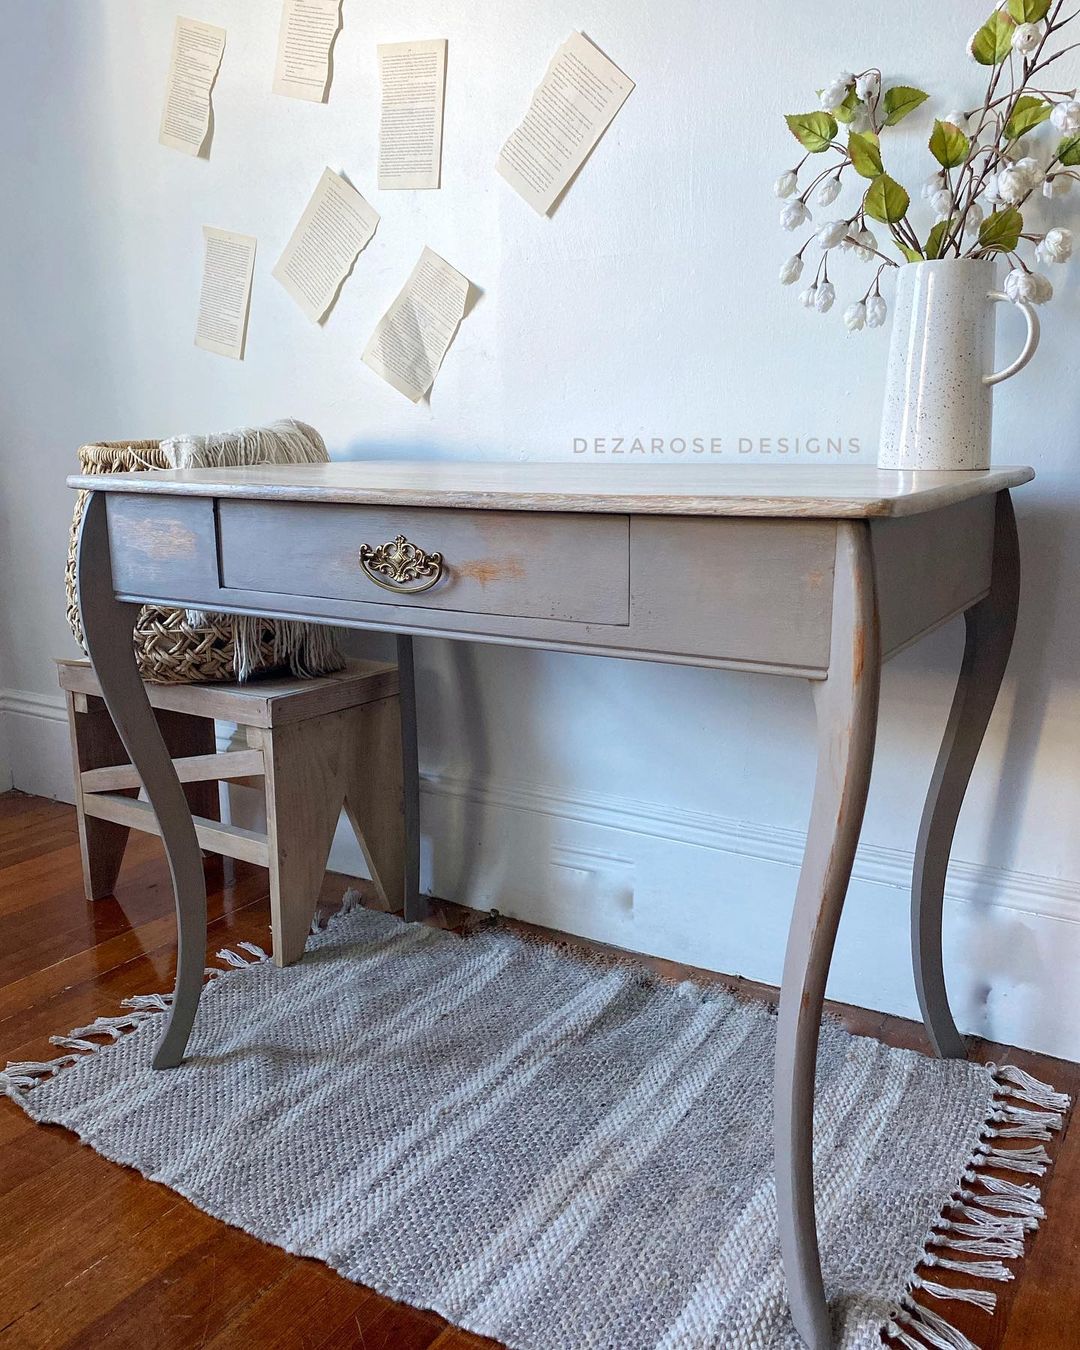
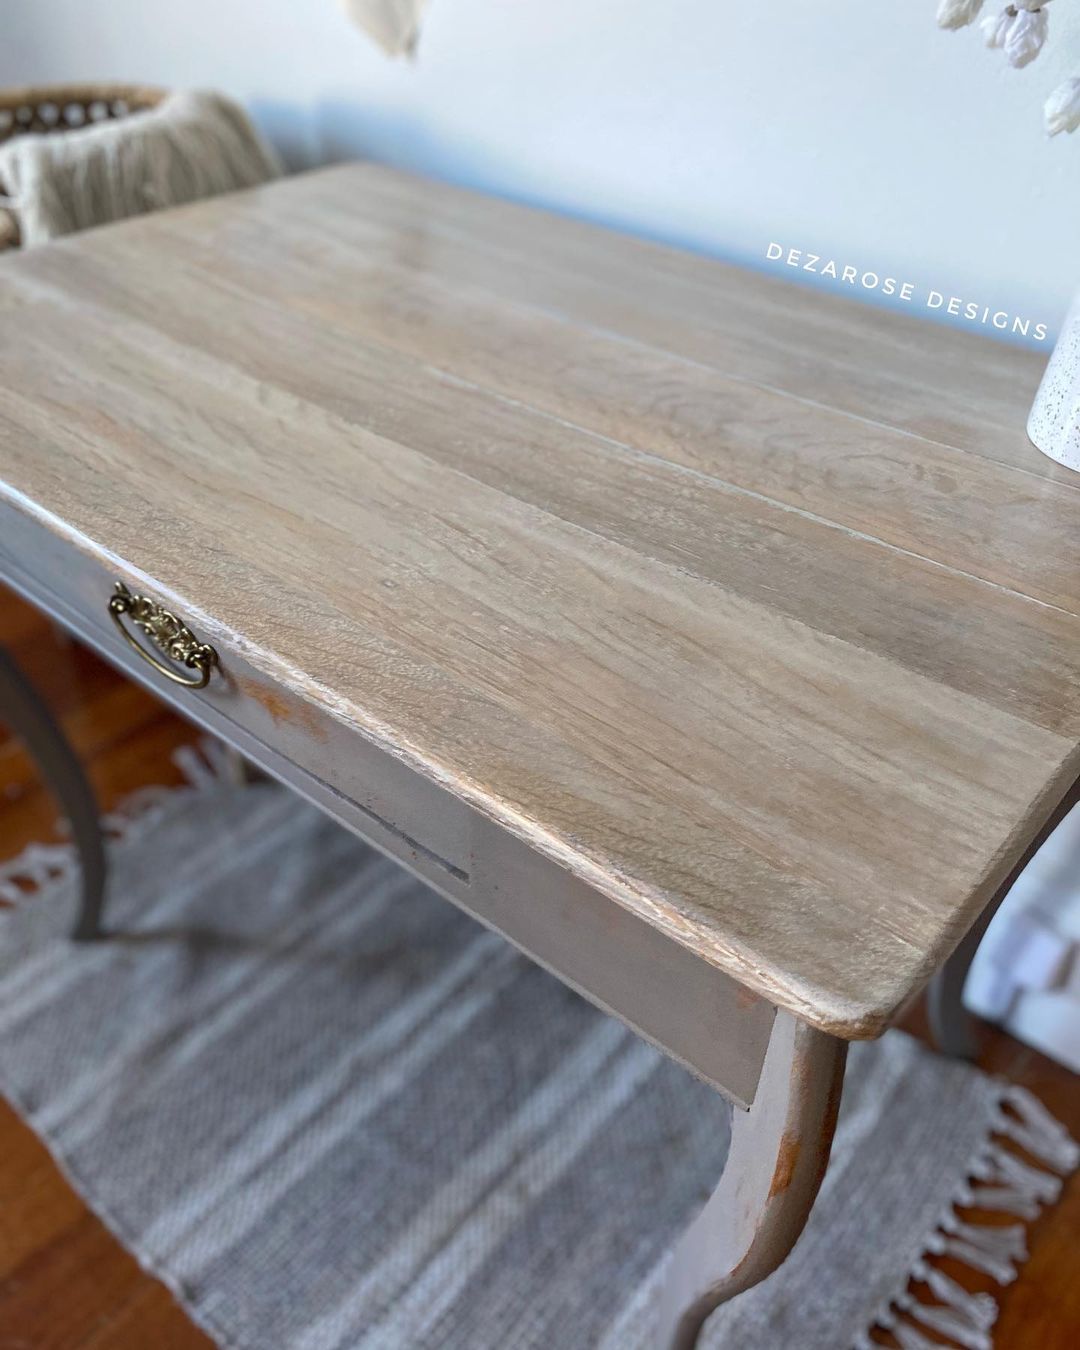
Whitewashing and Pickling
Several methods exist for whitewashing or pickling wood, but the simplest way is to simply paint the surface with diluted white paint. While you normally mix Real Milk Paint at a 1:1 ratio with water, you want the medium to be thinner to achieve a sheer look. After you mix it to a thin consistency, brush it onto the surface, let it set for a minute, then wipe it away with a rag to get a whitewashed or pickled effect. The milk paint should soak into the surface yet still wipe away in spaces to create a beautifully distressed appearance.
Scraping
Distressing furniture via scraping works well for surfaces covered in milk or chalk paint. To perform this technique, you simply scrape dried paint off areas where you want a weathered look with either a scraper or a putty knife. This process encompasses both pieces painted a single color and those with layered hues for added decorative versatility when customizing your furnishings with distressing techniques.
Wax
Whether you’re working with milk paint or chalk paint, dark wax helps you achieve an artfully distressed look. No VOC Wax from the Real Milk Paint Co. comes in dark walnut brown and warm black to dull brighter paint in grooves and crevices for a weathered effect, and it’s simple to apply and remove by using just soft, clean rags. Soft Wax colors range from clear, white and gray to dark brown and ebony, providing a variety of hues ideal for distressing furniture, and simple cloth application and removal makes using dark wax quick and simple, even for beginners.
Dry Brushing
Dry brushing is one of the easiest ways around to distress wood furniture. All you need for this distressing technique is the paint color you want to use, a dry paintbrush and some paper towels. To begin, add a normal coat of paint to your chosen surface, then go over it lightly with the dry paintbrush. When your paintbrush gets too wet, use the paper towels to clean off excess paint and continue dry brushing your project piece. The final results should have a lightly weathered look well-suited to rustic home decor.
Wet Paper
Wet paper furniture distressing techniques are simple to achieve for virtually any skill level. To achieve a wet distress visual effect, tear a piece of paper randomly into big and small pieces, wet the paper thoroughly, then place the wet paper pieces around the surface you’re distressing. Paint over them as usual, then pull paper up while the paint is still wet or wait for it to dry, depending on your preference. If you want to add more distressing, repeat the resist process until you get the look you want.
Candle Techniques
Candle techniques work well for layered color effects. After painting, rub an untinted wax candle hard into the surface at random intervals, then paint over it with the color you wish to layer. When the surface dries completely, rub it hard with a dry cloth and the paint should lift in the spaces you rubbed the candle. If you like, you can complete this process multiple times until you get the exact distressed look you desire.
Distressing Mediums
Distressing mediums take some of the guesswork out of distressing furniture as they’re designed to achieve specific effects. These mediums include a range of products that work beautifully with acrylic, chalk and milk paints, including tinted finishing glazes and creams by the Real Milk Paint Co. To use these burnishing products, rub them into already-painted surfaces with a soft rag, then wipe them away to get an aged patina. Natural Crackle Paint Finish adds an antique cracked effect to surfaces, and you can use it sparingly or all over, depending on the look you require. If you want full control over the cracks and chips, consider Chippy Paste when distressing wood, metal and other surfaces.
Sealing the Surface
After you’ve completed the hard work on your distressed furniture project, you’re ready to preserve it. You can seal distressed surfaces in multiple ways, but the easiest is to use wax or oils. Soft Wax in Clear provides an easy to apply and satin finish to the painted surface. Soapstone Sealer Wax by the Real Milk Paint Co. makes a nice choice for items that may come into contact with food, and it wipes on and off with ease for fuss-free application. For a more protective finish in your choice of dead flat, gloss and matte sheens, consider Finishing Creams that work beautifully on surfaces covered with Real Milk Paint.
While distressing furniture may seem like a daunting task for newbie DIYers, simple techniques and high-quality products from the Real Milk Paint Co. boost your learning curve. Multiple options that suit numerous decorative styles ensure you find the perfect way to complete the look of your latest project.