Complete Guide to Wood Glazing
When you want to achieve an antiqued effect but aren’t sure how to get the results you want, consider wood glazes made by the Real Milk Paint Co. Our finishing and burnishing glazes help protect painted and stained surfaces while imbuing your pieces with a well-aged patina for rustic appeal. Simple to use and clean up after projects, wood glazes work wonderfully for diverse projects and leave behind a washable finish for fuss-free aftercare. Additionally, our water-based formulations don’t overwhelm you with their smell unlike traditional glazes made with drying oil like boiled linseed oil. You can easily use them in compact indoor spaces without the unplesant odor. If you’re planning to redecorate old furniture or customize new pieces, consider wood glazes as a way to enhance your overall design.
Wood Glaze Basics
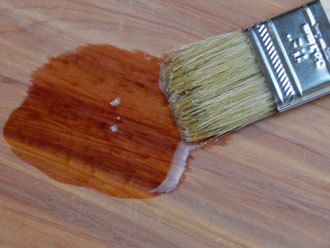
Wood glazes are media that you apply over painted or stained wood to create an antiqued effect. These products have a thicker consistency than paint, providing an extended working time to help you get the look you want. Some wood glazes are clear, but Real Milk Paint Co. burnishing and finishing glazes come in warmly tinted hues so you don’t have to mix them to your desired shade. Because wood glazes go on after paints and stains, they offer incredible control when you want to float color between finish layers.
Woods Stains vs Wood Glazes
 While wood stains and wood glazes seem similar in terms of hue, wood stains have a less opaque coloration, while wood glazes have a much more intense tint. Wood stains prove ideally suited to covering raw wood because they add depth to woodworking projects by pulling up the grain and highlighting its natural beauty while lending rich color to your piece. Wood glazes, however, don’t work well at all on raw wood, but they do add beauty to stained surfaces by accentuating recessed edges and moldings or delivering a shabby-chic antiqued effect.
The differences between wood glazes and wood stains are due to how each product is formulated. Think of wood stains as colored dye Glazes as opaque with pigment. On the flip side, wood glazes typically have much more pigmentation than their counterparts and much less binder — or even no binders at all. This means that rather than sinking into wood like stains, wood glazes sit on top of stains and paints. Also, wood stains always require a topcoat, but topcoats are sometimes optional for pieces completed with wood glazes, depending on the medium on which you apply them.
Uses for Wood Glazes
Wood glazes have versatile properties that make them suitable for application on both old and new surfaces. You can use these water-based formulations over acrylic and chalk paint, Real Milk Paint and various stains, and they also work well as a barrier between old and new coats of paint. The matte finish and warm tints also make our wood glazes a budget-friendly option for distressing furnishings and giving projects an old-fashioned flair. Some of the household items you can spruce up with our burnishing and finishing glazes include:
- Doors
- Windowsills
- Walls
- Cabinets
- Furniture
- Accent pieces
Advantages of Wood Glazing
Formulated with numerous application methods in mind, wood glazes by the Real Milk Paint Co. work beautifully whether you’re remodeling bathroom vanities or updating kitchen cabinets. In addition to adding vintage appeal to your pieces, these burnishing and finishing glazes confer multiple benefits to your DIY projects.
Easy to Use
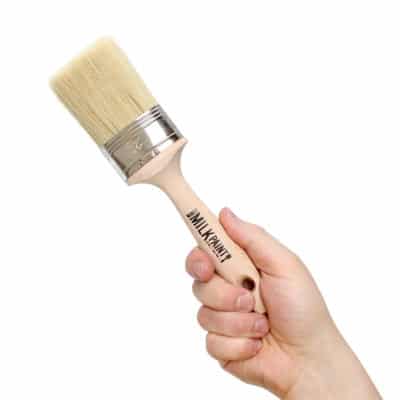
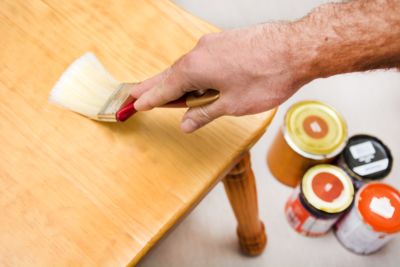
Wood glazes go on smoothly via a variety of tools, from soft rags and cellulose sponges to our oval glaze brushes and foam brushes. Glazing options by the Real Milk Paint Co. come in sturdy containers with screw-on lids for hassle-free access and storage, and they already have tint added so you don’t have to mix them to match your DIY project. Additionally, wood glazes don’t require stirring before use as their pigments normally remain stable rather than settling to the bottom of containers like wood stain. The water-based formulations also simplify tidying up as they only require soap and water cleanup, letting you quickly move to the next part of your creative process.
Environmentally Friendly
Real Milk Paint Co. finishing options are nontoxic to ensure safe use in myriad woodworking projects, and their odorless formulation lets you apply them indoors and in tighter spaces with less ventilation like small garages and sheds. Additionally, they contain no volatile organic compounds (VOCs), so they don’t add dangerous particulates or ozone to the air for eco-friendly decorating. Because our wood glazes come in easily accessible containers with protective screw-on lids, you can save them between uses to reduce the need for purchasing more products when new projects arise.
Washable and Protective
In just 24 hours after application, colored glazes by the Real Milk Paint Co. prove washable, so you can wipe down a piece of furniture before adding embellishments, appliques and other enhancements. Likewise, these finishes allow fast, simple cleanup with just a soft, damp cloth during your housekeeping routine to remove dust and debris for a tidier space. Additionally, burnishing and finishing glazes put another layer of protection between surfaces or finishes like paints and stains and potential damage, reducing the need for repair and maintenance.
Forgiving Formulations
Burnishing and finishing glazes by the Real Milk Paint Co. typically dry in between 30 and 60 minutes, making them forgiving formulations for numerous DIY woodworking projects. They dry quickly enough to not slow you down when you’re using them as a barrier between finish layers, but they also have ample open working time to ensure you get just the look you want. This also means you can correct mistakes with a soft rag or blend down over-coloration with a wet sponge.
Excellent Coverage
Just a little of our wood glazes goes a long way, making them an economical way to bring some pizzazz to plainer pieces. Our 8-, 16- and 32-ounce containers cover 25 to 35, 50 to 70 and 100 to 140 square feet of surface, respectively, so you know exactly how much you need before starting your project and can plan accordingly. Also, the thin consistency doesn’t stick securely to paintbrushes, soft rags or sponges, allowing you to cover more area with less product for economical DIY woodworking.
Simple Layering
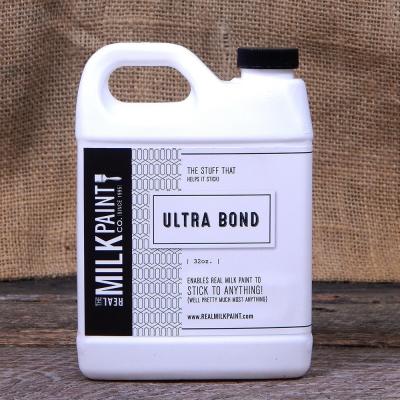
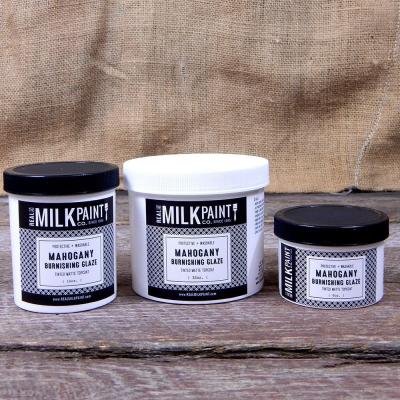
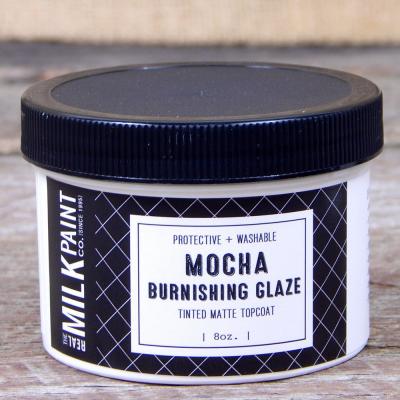
Tinted wood glazes from the Real Milk Paint Co. let you paint over them with Real Milk Paint once dry without the need for our Ultra Bond adhesion promoter. These finishing and burnishing glazes also work well over finishing creams when you want a barrier that prevents Real Milk Paint from taking on too much color from your glaze of choice. Available in mocha, mahogany and espresso, these wood finish products have a natural warmth that works with a wide range of paint hues and stain colors to ensure a complementary look with every application.
How to Glaze Wood
Just how to glaze wood depends on the visual effect you wish to achieve. This versatile medium works beautifully over both stains and paints, and it provides all-over color when needed and lets you add the impression of age when used to highlight edges, cracks and grooves. To get started, though, you need a few basic things, depending on what you want to achieve.
Wood Glazing Supplies
The first thing you require for wood glazing is, of course, the burnishing or finishing glaze you want to use on your DIY project. You also need application tools such as paintbrushes, soft cloths, sponges and water to wet them with or basic chip brushes. Be sure to factor in supplies to cover spaces you don’t want to color, such as masking tape and tarps, and for faster cleanup, you may also want to cover your work area with an old sheet.
Surface Preparation
 If you’ve just covered wood with stain, Real Milk Paint or acrylic, pickling or chalk paint options, you should be able to start covering the surface with glaze as soon as the paint dries. For recently painted or stained surfaces, you’ll likely just need to wipe them down with soap and water, but for older pieces, consider using a cleaner such as Tri-Sodium Phosphate that removes years of dirt and grime for a pristine glazing surface. After cleaning, simply let the surface dry; then you’re ready to start glazing wood.
Wood Glazing Techniques
Whether you want all-over color or just a hint of tint in the cracks, wood glaze has you covered. Keep in mind, though, that different application methods create different effects and plan your woodworking project to accommodate the right method for your piece.
Glazing Projects
Wood glaze works well in a variety of woodworking projects, helping you create certain looks that pair well with rustic, shabby-chic, country and cottage decor. Some things you can achieve with wood glaze from the Real Milk Paint Co. include:
- Adorning upcycled furnishings with a weathered look
- Enhancing carvings on vintage pieces you’re remodeling
- Decorating freshly painted cabinets with an aged patina
- Giving rough-hewn tables a rustic reclaimed wood design
- Jazzing up nautical decor with a faux driftwood finish
Glazing with Cloth
The easiest way to apply wood glaze is with a cheesecloth or cotton cloth. If you want to antique your DIY project, apply burnishing or finishing glaze to the surface, then wipe it off against the wood grain. Cloth application and wipe-down lets you leave as much or as little of the color on surfaces such as doors, walls, and cabinets, ensuring total control of your final results. The slight tint allows you to build color by using these methods, so you don’t have to shoot for perfect results all at once. If you aren’t satisfied with the depth of your glazing, simply add more when dry, then wipe away excess glaze to get the precise design you desire.
Glazing with Brushes
Rounded bristle brushes work great for applying wood glazes because the hard tips reach deep into cracks and crevices. When working with paintbrushes, be sure to keep a couple on hand — one for applying finishing or burnishing glaze and one for blending or removing it. Brush application also gives you more of a reach on higher surfaces such as doors, window frames and baseboards. If you’re covering larger areas, using a cross-hatch application method helps you achieve even, beautiful coverage. Keep in mind that you can use cloths to wipe down the wood glaze you’ve applied with brushes, depending on the surface you’re embellishing.
Sealing Wood Glazes
Depending on the project you’re working on, you may or may not require a topcoat after wood glaze application. When you’re using it to antique chalk painted surfaces and don’t want multiple layers, add clear topcoat when dry. If, however, you’re using it between layers of Real Milk Paint, you should wait until you complete the process before sealing. When you’re just using burnishing or finishing glazes to accentuate carved detailing or appliques, you probably don’t need to worry with a topcoat at all.
Wood glazes not only give your woodworking projects a unique look, they also add protective properties while making the surface washable for easy care. No matter if you’re making a wood chair from scratch or updating an old piece made with really high-quality wood, wood glazes from the Real Milk Paint Co. have you covered with nontoxic formulations that require no mixing and allow quick, easy cleanup. Pair these products with others in our line such as our natural wood wax to add new media to your DIY home decorating repertoire and see the difference it makes in the look of your completed projects.