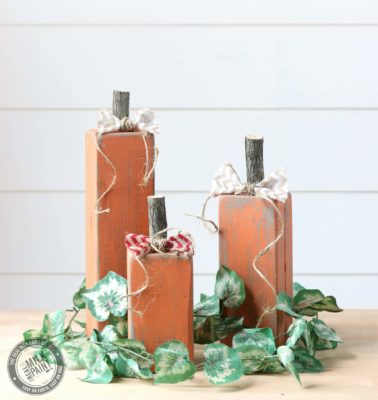
 With autumn moving into full swing, it’s time to start thinking about decorating ideas for both Halloween and Harvest gatherings. When considering DIY projects that fit both themes, wooden pumpkins offer a flexible fall decorating solution that takes you to Thanksgiving and beyond. Pumpkins prove a versatile choice since they come in a variety of shapes, sizes and colors, and making them from scrap wood gives you an opportunity to clean out your work space and saves you money on fall home decor.
Decorate for Halloween and Harvest
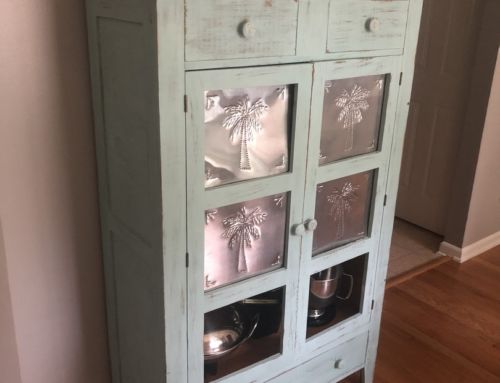
Use DIY wooden pumpkins to add autumnal appeal to Halloween and Harvest displays. Large wood pumpkins fit well within front porch and outdoor scenes, while smaller DIY fall gourds give you a vast array of combinations to use in centerpieces and home decor vignettes. For example, fall pumpkins with irregular shaping give a hint of natural texture to autumn flower and cornucopia arrangements, while a mix of small and large wooden pumpkin sizes helps balance out displays with oversize elements such as big corn stalk bundles. Alternatively, use flatter fall pumpkins to craft custom signage to hang on the wall or doors.
Make DIY Fall Decor from Scrap Wood
Make DIY wooden pumpkins by using scrap wood you have around your home. No matter if you have extra boards from building projects, old pallets stuck back for crafting or just want to make use of cheap plywood furnishings rather than put them on the curb, you can fashion cute wooden pumpkins out of the material if you’re working with a budget. Look for potential accent materials within other items you have around the house, including leftover milk paint powder, polka dot fabric and raffia bows, to add a fun finishing touch to your pumpkin cutouts.
Place Fall Pumpkin Decorations Anywhere
Whether you’re adding decorations for Halloween, Thanksgiving or just to suit the season, fall decor like wood pumpkins can lend a welcoming feel, especially if you’re expecting company through the autumn holidays. Common pumpkin hues such as orange, off-white and green infuse your home with warmth, making areas ranging from dining spaces and living rooms to your front porch and back deck more visually appealing. While you might already have up seasonal staples such as hay bales and scarecrows, DIY block pumpkins add a cheery ambience to existing fall decorations and give displays a well-balanced look.
Fit with Multiple Fall Decor Styles
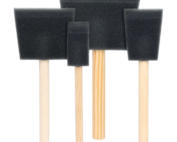
Fun and versatile, DIY wooden pumpkins offer a plethora of decorative possibilities. When you want to attain a rustic motif, use a single coat of paint on irregularly cut wooden pumpkin shapes, then sand down the edges to make a deliberately distressed design. For a smoother look that pairs well with modern home decor, use a foam brush to paint block pumpkins so you don’t leave brush strokes behind. For a hint of farmhouse flair, add burlap bows to your finished designs covered in bright orange paint, or bring cottage chic front and center by adorning pink- or cream-painted creations with grosgrain ribbons and lacy accents. No matter your decorative style, this easy DIY project helps you polish your seasonal space.
Tutorial for Making Wooden Pumpkins
To make this rustic fall woodworking project, you need a few things. Gather the following before getting started:
- Scrap wood
- Saw
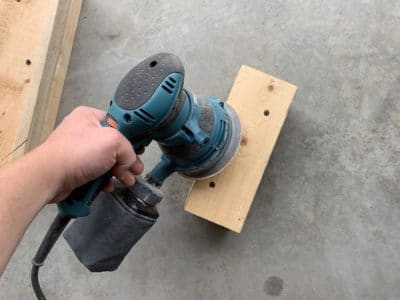
- Orbital sander
- Sandpaper (150 grit)
- Real Wood Filler
- Putty knife
- Real Milk Paint
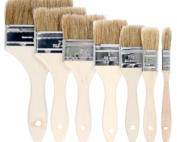
- Paintbrushes
- Your choice of accents
- Hammer
- Nails
- Hot glue gun
- Glue
First, consider the wood you have available and how many components you can make from each panel. For example, let’s say you have five scrap 2′ x 4′ panels. Begin by cutting them down to around 12-inch components with your saw, then cut some more at 9-inch intervals and still more at 6 and 3 inches long. By spacing out the sizing, you can easily fit the blocks together into a pumpkin shape, then glue or screw them together.
Once you have your first fall pumpkin assembled, look it over to see if any areas need patching. If they do, apply Real Wood Filler with the putty knife to smooth out rough patches, then sand down the repair with the 150-grit sandpaper.
Next, you want to soften the edges of your wooden pumpkin. Add the 150-grit sandpaper to your orbital sander, then use it to imbue your fall crafts with a more rounded, pumpkin-like shape.
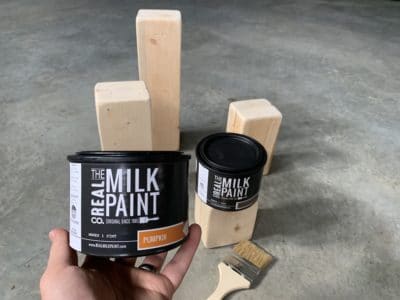
Next, grab your Real Milk Paint powder and mix with water to the consistency you desire. Wait for the foam to settle a bit, then use the paintbrushes to add color to your wooden pumpkins. Muted yet warm gray hues like Boardwalk work well as a base coat and complement numerous home decor palettes, while traditional orange shades such as Pumpkin celebrate autumn with aplomb.
You can get creative here by using colors on your wooden pumpkins ranging from Plum and Betsy Ross Red that complement contemporary furnishings to Yellow Rose and Persimmon in more classic room designs.
Apply a single coat of milk paint if you’re shooting for a rustic look, and feel free to use the sandpaper to distress the edges and center if you want to give your wooden pumpkin a weathered look. If you prefer a more polished design, add two or more coats to your DIY wooden pumpkins, then let them dry completely.
Next, your cute wooden pumpkins need a stem, and you can easily add one by using sticks you gather from the yard or by cutting down other scrap wood into stem-like shapes. Affix the stem you create to your Harvest or Halloween pumpkin by using the hot glue gun and glue or by nailing it to the craft with a hammer. After attaching it securely, paint the stem with your choice of colors, such as Cocoa or Lily Pad.
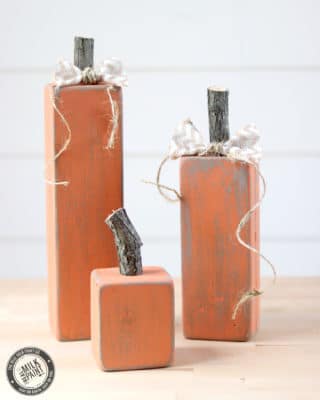
Now that your wooden pumpkin is assembled and painted, it’s time to add personalized accents to your fall decor. For instance, if you’re decorating a space with a country, rustic or farmhouse aesthetic, burlap strips and twine formed into small bow ties add attractive texture to your finished designs. Alternatively, affixing wired satin bows to your creations lends a polished feel, while decoupaged floral accents fit well with shabby-chic decor themes. Add bright purple and black polka dots cut from fabric or cardstock to the surface to tailor your wooden pumpkin design toward Halloween, or adorn it with words expressing gratitude for decor well-suited to Thanksgiving centerpieces.
Doing DIY projects with your family and friends offers a fun way to pull your team together as the year draws to a close, and options like wooden pumpkins made from scrap wood help you get that feeling of unity on the cheap. Before you spend money at Amazon or even the dollar store on fall decor, take a look around your home to see what you can create with a few scraps and bold color from the Real Milk Paint Co.
P.S. Real Milk Paint is a kid safe paint so this is a great fall craft to do with the little ones!