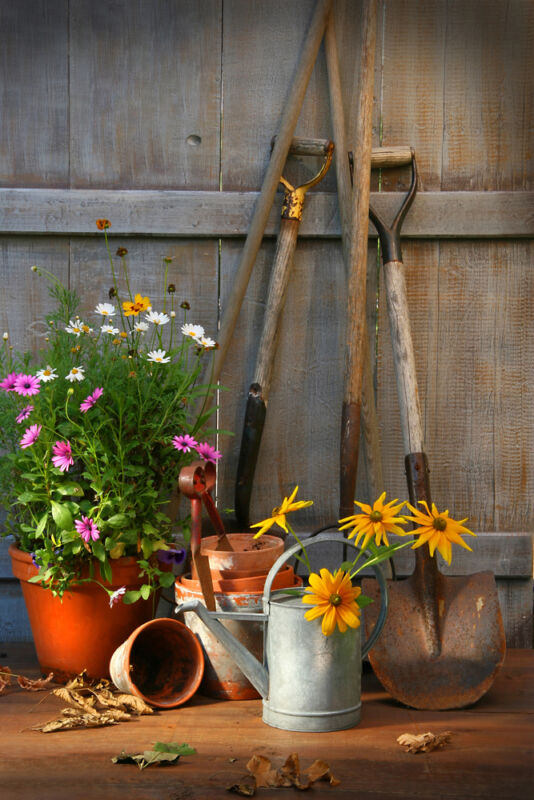
 Wood garden tools help you get hard work done, whether you’re growing vegetables or tending to your landscaping. Many wood-handled tools come with varnish applied, which tends to dry the grip out over time and cause discomfort during use, so you need to know how to restore wood garden tools.
Since your garden tool collection is a significant investment, restoring wooden tool handles makes more sense than getting new ones — especially since you can quickly improve their functionality. For instance, the Real Milk Paint Co. has top-notch products for restoring wood garden tools to their original glory.
Our products help revamp wooden tool handles to increase their durability and comfort, make them look better, and reduce the risks of splintering for safer use when working on your lawn or garden. Here’s how we can help when a tool handle gets too rough to use and how you can perform regular maintenance that keeps your implements in good shape.
Assessing Your Wood Garden Tools
At the start of every gardening season, assess the condition of your tools to keep them working their best. Examining them has less to do with aesthetics and more to do with how well they do their jobs and how comfortable or safe they are to use. These tips identify signs of wear and tear on your tools, show how damaged they are, and help you make informed decisions about maintenance, replacement, and repair.
Identify the Signs of Wear and Tear
First, visually inspect garden tools regularly for signs of wear and tear, checking implements you use year-round more frequently. Examples of problems might be a broken handle, a cracked old handle, splintering or signs of rotted wood — and each issue can compromise the tool’s integrity, strength and safety. Look out for loose parts or joints, and carefully examine the tool for rust or corroded metal components. Signs of excessive wear, such as worn-down handles and blades, typically mean you need to repair the garden tool or replace it altogether.
Determine the Extent of the Damage
After you determine what’s wrong with your garden tool collection, determine how much damage the implements have and whether replacing or repairing them is more reasonable. Superficial damage, such as small cosmetic cracks or scratches on wood handles, doesn’t require big fixes beyond a little Wood Filler, a rubdown with sandpaper, and a coat of Outdoor Defense Oil or Pure Tung Oil. Hand tools with structural integrity issues, however, probably need to go.
Gathering Materials and Tools
Just as you round up seeds, soil, pots, and tools before you start a gardening project, you also need to gather supplies to repair the garden tool collection, which makes it possible. This preparation puts everything you need for restoring wooden tool handles on shovels, hoes and other garden implements right at your fingertips.
The Materials You Need for Garden Tool Repair
Some supplies and materials are essential when you want to repair your outdoor tools.
Restore wooden tool handles by using the following:
- Sandpaper
- Wood Filler
- Pure Tung Oil or Outdoor Defense Oil
- Tri-sodium phosphate
- Paint or wood finish
- Rust remover pads
- Protective gear
Tools for Fixing Wood Handles and Other Components
Supplies aren’t the only thing you need to get tools back into good working order — you also need other tools to fix broken ones properly.
Use this list for outdoor tool restoration:
- Putty knife or spatula
- Clamps
- Wire brush
- Whetstone and flat file
- Screwdrivers and wrenches
- Utility knife
- Paintbrush or stain applicator

Preparing Broken Garden Tools for Restoration
Preparation helps set the tone for proper repair and restoration. Protect yourself and your implements throughout the process with this advice.
Safety First
Keep yourself safe while repairing old tools with protective gear such as gloves and goggles. Gloves keep your hands from staining and protect against cleaning chemicals, while goggles keep debris and fumes out of your eyes while you work.
Cleaning the Tools
Before you start, use a clean cloth and Tri-Sodium Phosphate to wipe down all the tools you plan on repairing. This cleanser leaves no residue, so you have a blank slate to work with when applying paint or stain to a tool handle you repaired.
Restoring the Wooden Tool Handles
When you’re ready to restore wooden tool handles, these tips will help you stay on track and do the job correctly.
Sanding Down the Wood
Depending on the condition of the outdoor tools you’re repairing, choose between fine and rough sandpaper grits. Once sanded, look for cracks, divots, or holes, then use Wood Filler to repair them. This material smooths out rough edges and prepares the wood for further treatment and repair. When used correctly, high-quality products like our Wood Filler may restore the surface to its original strength.
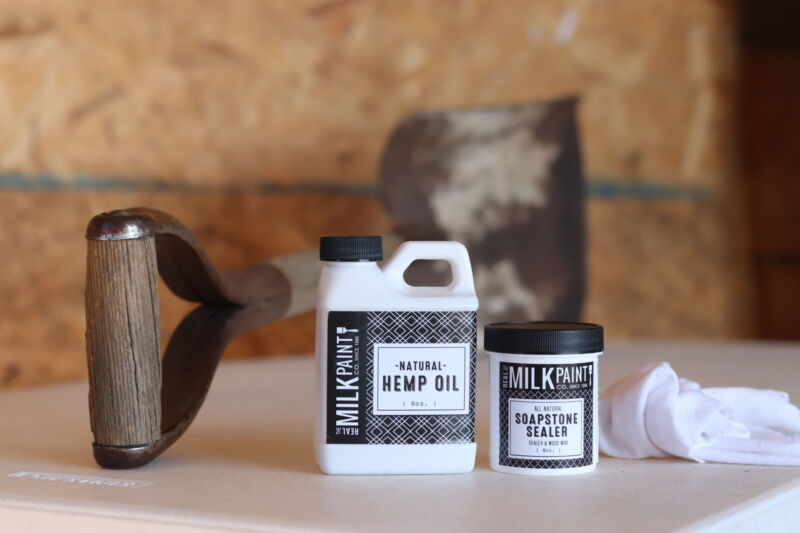
Applying a Protective Finish
Once the wooden handles are properly prepared, enhance and protect them with Wood Wax, ensuring they withstand the elements with elegance. You can even add a dash of color to organize or customize the appearance of your garden tool collection with Real Milk Paint colors before applying your protective finish.
Alternatively, when you need to seal and protect wood from moisture and marring, Outdoor Defense Oil does the job. This nontoxic oil penetrates deeply and cures over time, so it never dries out wood fibers and always leaves a pliable finish behind.
Sharpening and Protecting Metal Parts
Maintaining tools such as axes, shovels and saws is about more than just fixing the handles; the metal components also need some TLC. Follow this advice to keep metal parts rust-free and ready for work.
Removing Rust
Metal needs special care, just like a wood tool handle, including using rust remover. Our Surfprep Hand Pads can effectively remove minor rust from metal by rubbing the pads on the tool. If you have a heavier layer of rust, a wire brush takes care of the rest. This tool works equally well to remove caked-on rust from metal as it does to remove layers of old paint when you’re ready to add a fresh finish to a wood handle.
Sharpening Blades and Prongs
Files and whetstones let you sharpen blades and prongs, so you need the proper one when repairing garden tools. For instance, flat files work best for implements with straight edges, such as hoes and shovels, while round files work better for curved tools like pruning shears.
Applying a Rust Preventive
Pure Tung Oil inhibits rust when applied to metal sections of garden tools. This versatile finishing oil inhibits corrosion with proper curing time, so your favorite tools stay in excellent working order year-round.
Reassembling and Storing Garden Tools
Now that you’ve cleaned up and repaired your garden tools put them back together and stow them where they’re easy to find. Use these tips to do the job right.
Reattaching Wood Handles
Having screwdrivers and wrenches on hand lets you disassemble and reassemble tools and parts that require cleaning, painting, refinishing or other extra care. These handy items also work well when a garden tool needs quick tightening.
Proper Storage Techniques
Garden tools last longer when kept in conditions that aren’t hot, humid or moist. To prevent further damage and make your repairs last longer, consider hanging them in your garage or garden shed so they’re easy to spot, grab, use and return. This organizational method also helps you notice if something is wrong with your garden tools.
Maintenance Tips for Longevity
Addressing immediate issues ensures the effectiveness and longevity of your garden tools, and so does regular maintenance and care. Paying the same close attention to your implements as you do your garden can keep tools in peak condition and ready to use.
Regular Cleaning and Inspection
Clean up your garden tools after every use, removing soil, sap and other plant residue with a damp rag. Take this regimen up a notch every few weeks by scrubbing down your tools with soapy water. If you’re concerned about plant diseases, disinfect certain implements with a bleach and water solution. Pruners and shears may need a quick application of Pure Tung Oil to keep them well-lubricated — but be sure to wipe off the excess before you put them away.
Seasonal Storage Tips
During the winter, store your garden tools away from temperature extremes to prevent damage and the need for further repairs. Take the time during this season to oil everything and prepare it for spring, when the demands of yard work mean you may have less time for regular maintenance. At the end of the gardening season, clean and inspect each implement before storing it away so you know what it needs for effective use in the seasons to come.
Use the Real Milk Paint Co.’s Wood Finishes to Restore Old Handles on Wood Tools
Real Milk Paint Co. offers a wide range of finishing products that are well-suited to repairing and restoring garden tools. Take stock of the implements you have in your garage or garden shed, then get what you need from our online store to properly maintain your garden tools for long-term effectiveness, functionality, and safety in your outdoor space.


