Imagine transforming your kitchen with a unique and functional accessory that not only adds extra counter space but also serves as a beautiful stove top cover and cutting board. Yes, we’re talking about the fantastic noodle board! In this DIY tutorial, we’ll guide you through the exciting process of creating your own noodle board, how to finish a noodle board with tung oil, decorating, and ensuring food safety. Are you ready to level up your kitchen game? Let’s dive in!
How to Seal and Finish a Noodle Board
Creating a noodle board is a fun and rewarding DIY project that can enhance the look and functionality of your kitchen. But before you start cutting and assembling, it’s crucial to understand the importance of sealing and finishing your masterpiece. Sealing your board ensures its durability and guarantees food safety, allowing you to use it confidently for food prep and serving.
The proper sealant will protect your board from water damage, staining, and bacteria growth, ensuring the glue dries effectively.
The Importance of Sealing
A well-sealed noodle board is essential to protect it from moisture, stains, and bacteria, ensuring your extra kitchen counter space looks fantastic and hygienic. Moreover, using a food-safe finish is crucial if you use your board to make pasta or pie dough.
By sealing your board correctly, you’ll create a beautiful addition to your dining room and guarantee extra space for food preparation.
Options for Food-Safe Paint and Sealer
When it comes to food-safe paint and sealer options, there’s a variety to choose from! Some of the best options include:
- Milk paint
- Epoxy
- Natural penetrating wood oils
- Food-grade clear coatings
Milk paint, for example, is made from milk proteins and pigments, making it non-toxic and eco-friendly, perfect for food-contact surfaces.
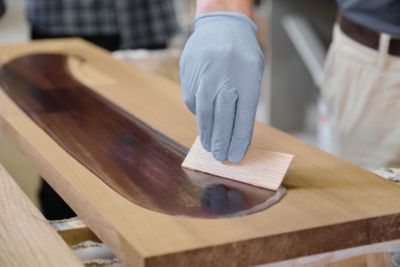
A Simple Guide to Applying Tung Oil and Other Sealers
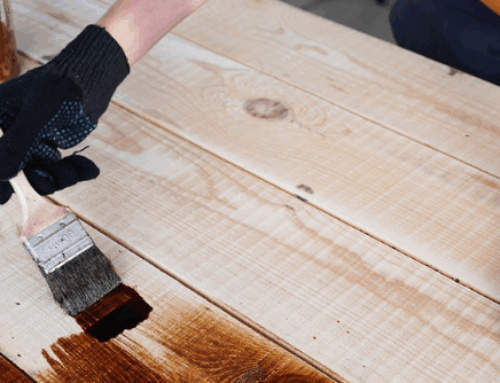
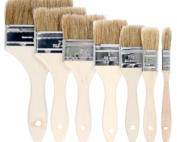
To achieve a long-lasting finish on your noodle board, applying tung oil or other natural oils and sealers is essential. Start by sanding your board with medium to fine-grit sandpaper or a sanding block and cleaning any residual dust. Then apply an even coat of your wood oil or stain with a brush, allowing it to dry for 12-24 hours.
Finally, finish with a clear coat of sealant, such as tung oil, hemp oil, or wood wax, applying multiple coats for maximum protection. Following these simple steps will ensure your noodle board is stylish and ready for food prep and serving.
How to Make a Noodle Board
 Now that you’re familiar with sealing and finishing, it’s time to dive into the exciting process of creating your own noodle board! This section will guide you through choosing the right materials, cutting and assembling the base, and sanding and staining for a perfect finish.
Brace yourself for a fun and rewarding DIY experience that will take your kitchen to the next level!
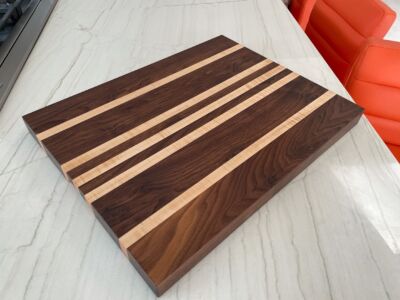
Choose the Right Materials
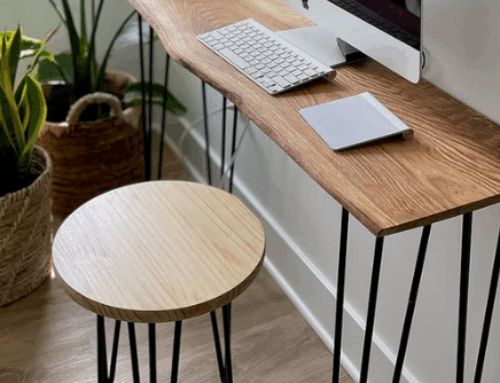
The first step in creating your noodle board is selecting the right materials. Hardwoods like maple, bamboo, walnut, or cherry are ideal for a durable and long-lasting board. To ensure a perfect fit for your stovetop, measure your stovetop and calculate the measurements for the wood you’ll need to purchase. This will guarantee a functional board and help you estimate how much wood you’ll need for your exciting DIY project.
Once you have the measurements and the wood, you can assemble your noodle board.
Cut and Assemble the Base
Once you’ve chosen the materials needed for your stovetop cover and measured your stovetop, it’s time to cut and assemble the base. Start by cutting a piece of wood down to the size of your stovetop and cutting down 1x4s to fit the main board. With the right stove toppers, you can ensure a perfect fit and stylish addition to your kitchen.
Next, follow these steps to assemble the base:
- Sand the edges of all the wood pieces until smooth.
- Paint the wood pieces to your liking.
- Attach the side pieces to the bottom board using wood glue and 1 1/4’’ pin nails or 18ga brad nails, ensuring a secure and stable construction with the help of a brad nailer.
You’re now one step closer to completing your DIY noodle board!
Creative Ways to Decorate Your Noodle Board
 Your noodle board is now sealed, assembled, and ready for creative touches! This section explores ways to personalize your board, including selecting designs and transfers, applying food-safe paint and decorations, and adding unique elements that reflect your style and taste.
Let your imagination run wild and create a unique piece that will make your kitchen stand out.
Selecting Designs and Transfers
To make your noodle genuinely unique, consider incorporating eye-catching designs and transfers. Websites like Pinterest and Etsy offer a wealth of inspiration for stencils and patterns that elevate your board’s appearance. Some ideas for designs and patterns include:
- Intricate patterns
- Bold typography
- Floral motifs
- Geometric shapes
- Nature-inspired designs
The possibilities are endless! Let your creativity run wild, and create a noodle board that reflects your personal style. Select a design that complements your kitchen’s décor and reflects your style for a stunning and personalized result.
Applying Food-Safe Paint and Decorations
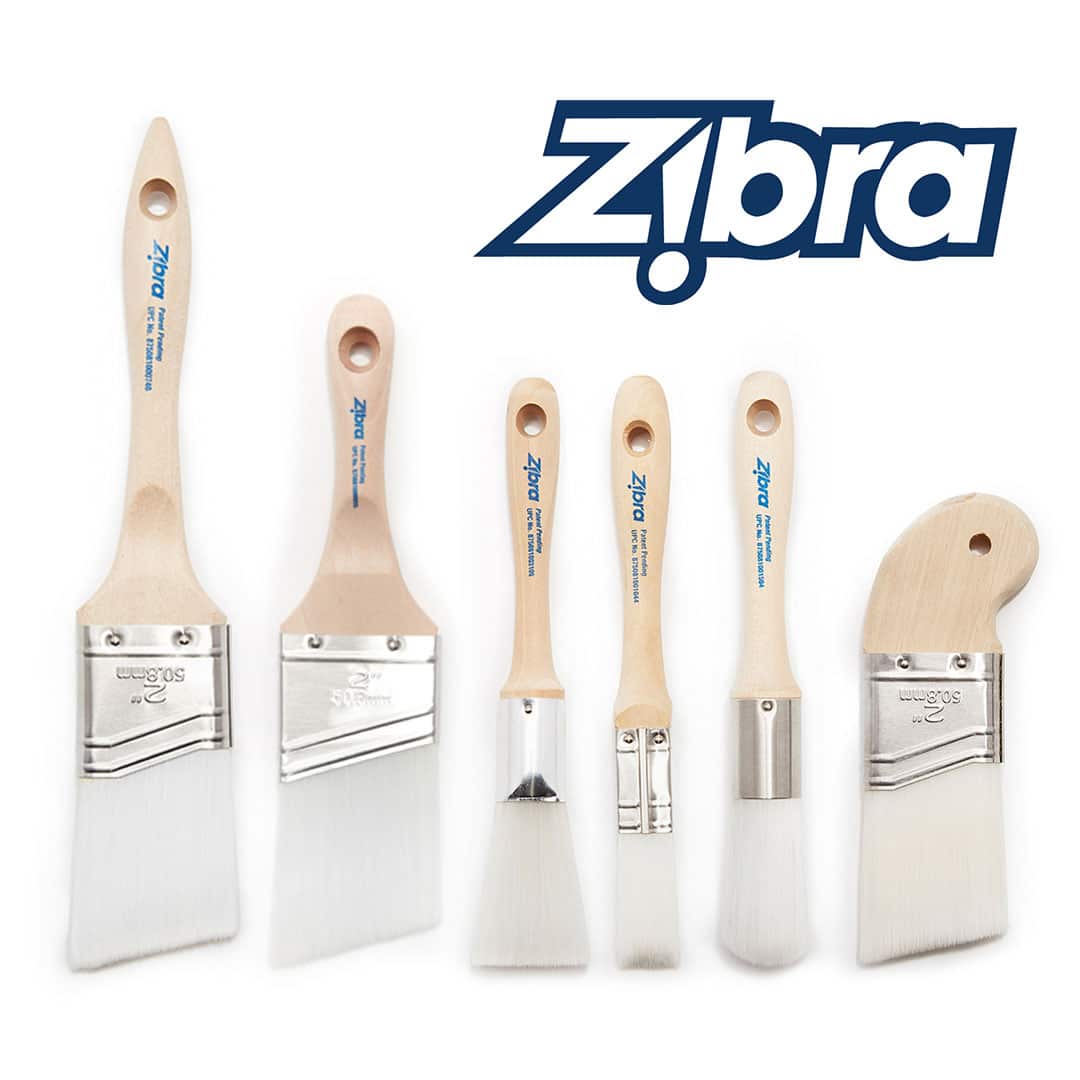
Once you’ve chosen your design, it’s time to apply food-safe paint and decorations to your noodle board. Options like Real Milk Paint’s range of natural paint colors are perfect for adding vibrant color and style to your board without compromising functionality.
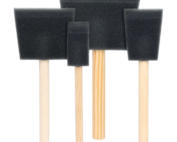
Generously apply the paint or decorations using a brush or sponge for even coverage, and allow it to dry completely before adding additional coats. Your noodle board will now be a beautiful and functional addition to your kitchen!
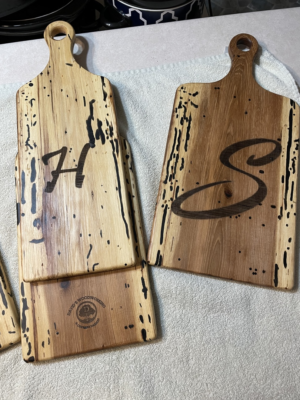
Tips and Tricks for Personalized Designs
To further personalize your noodle boards, consider adding unique touches like hand-painted designs, stenciling, or even wood burning for a rustic look. Experiment with different techniques and styles to find the perfect combination that suits your taste and complements your kitchen décor.
And don’t forget, a well-sealed and maintained board will ensure your personalized designs stay vibrant and beautiful for years to come!
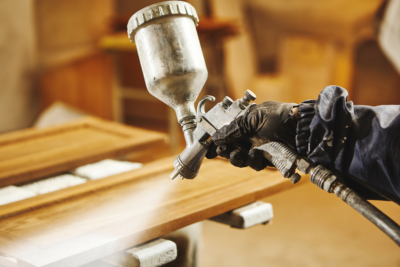
Seal for a Perfect Finish
 To achieve a professional-looking finish on your noodle board, follow these steps:
- After assembling the base, sand the board with fine-grit sandpaper until smooth.
- Next, clean off any residual dust.
- (Optional) Highlight any decorative elements, such as painting engraved areas with a food contact safe paint, such as milk paint.
- Apply a food contact safe wood sealer or waxan even coat of wood stain with a brush, allowing it to fully dry before usefor 12-24 hours.
This process will ensure a beautiful and long-lasting finish, making your noodle a stunning addition to your kitchen.
Noodle Board Safety and Maintenance
Understanding noodle board safety and maintenance is crucial to ensure its longevity and food safety. By following the best safety practices and keeping your board well-maintained, you’ll have a versatile and functional kitchen accessory that will serve you well for years.
So let’s discuss some essential tips for keeping your noodle board in tip-top shape!
Ensuring Food Safety with Proper Materials
Selecting the right materials for your noodles board is vital for ensuring food safety. Using food-safe paints and finishes will prevent harmful germs from harboring on your board.
Additionally, be sure to clean your cutting board, dishes, utensils, and countertops with hot, soapy water, especially after they come into contact with raw meat, poultry, seafood, or eggs. By choosing the proper materials and maintaining a clean kitchen, you’ll be able to enjoy your noodles without any worries.
Cleaning and Caring for Your Noodle Board
To keep your noodle boards looking and functioning at their best, it’s essential to clean and care for them properly. Gently scrub your board with hot water and mild soap after each use, and dry it thoroughly to prevent any moisture damage.
Store your noodle in a cool, dry place away from direct sunlight, ideally in a separate, dedicated area or shelf where it can sit undisturbed for an extended time. These simple steps ensure your noodle board stays in excellent condition for years.
Troubleshooting Common Issues
 Although noodle boards are relatively low-maintenance, some common issues may arise, such as exposure to the pilot light, unknown exposure to heat, and gas buildup. To address these issues, ensure your board is kept away from direct heat sources and is appropriately sealed with a food-safe sealer.
By taking these precautions, you can prevent potential problems and enjoy your noodle board without concerns.
Find Everything You Need to Decorate, Seal, and Finish Your Noodle Board With Real Milk Paint
To complete your noodle board project, you’ll need the right supplies for decorating, sealing, and finishing your masterpiece. Real Milk Paint is a trusted source for food-contact-safe paint and sealers, offering various options to suit your needs and style.
Visit Real Milk Paint to find everything you need for this exciting DIY project. With the right supplies and guidance, you’ll be well on your way to creating a stunning and functional kitchen accessory that you’ll be proud to show off!