DIY Image Transfer to Wood Using Real Milk Paint
One of our favorite crafting techniques is transferring an image to another surface such as wood. Photo transfer to wood is a simple and fun craft that requires minimal supplies and is great to do together with kids and friends. In this post, we show you step by step how to transfer photos to wood using Real Milk Paint’s Dead Flat Finishing Cream.
What is Dead Flat Finishing Cream?
Dead Flat Finishing Cream is a clear, water-based top coat that works on all types of wood grain and painted wood. Not only is it a protective layer to maintain the ascetics of your indoor or outdoor projects, but it’s also a washable topcoat. You can apply it on top of any paint, without changing the color of the wood surface you are applying it to for a flat, finished look.
Strong and versatile, these creams can be used on both new and old surfaces, even in scrap wood, making them an especially great topcoat on cabinets, walls, trim, outdoor furniture and high-traffic areas that require additional protection. Real Milk Paint’s finishing creams are available in gloss, low sheen, and dead flat. In this example, we will be using Dead Flat.
In addition, our finishing creams are environmentally friendly and non-toxic making them safe, enjoyable, and easy to use on a variety of crafts including photo transfer to wood. Since it’s made from 100 percent organic materials, it’s safe for kids and pets.
Our innovative formula lasts longer than your traditional paint products that you can find on sale at stores. After being applied , it remains stable on your wood for years to come, so you can enjoy photos transfers prints on wood day after day without having to worry about them quickly deteriorating.
Before you start photo transfer to wood, watch our short video tutorial showing you an example project we did.
Gather Your Supplies
The first step for our photo transfer to wood project starts with gathering the right supplies. In this tutorial, we will be transferring images to wood log rounds that we cut from a tree branch. For this project, you will need to gather the following supplies:
- Wood (Log Rounds)
- Sand Paper
- Scissors
- LaserPrinter
- Photo or wax paper
- Printed Images (reversed)
- Real Milk Paint Dead Flat Finishing Cream
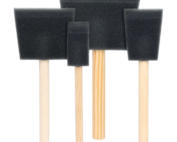
- Foam Brush
- Water
- Brush
Tip: When printing your images, you can choose any graphics, photo, or design you’d like, but choose the size and type of your paper as well. First, you may want to use photo printer paper instead of regular printer paper for better quality images, some people even suggest using wax paper but for this video purposes, we don’t think a wax paper is needed.
You will then need to decide what size photo paper you want to use. Most inkjet printers can accommodate 8.5″ x 11″ sheets of photo paper, so this is a good option to start with. You can also use smaller sizes of photo printer paper if you want to create a smaller photo transfer. For this project we are doing photo transfer medium paper.
The key for this project is to print them with a laser printer, which most people have at home. Before you print your images, make sure to ‘reverse’ or flip the image, so that when you apply it to the wood the image will be applied properly – this is called mirror image and can be done through a photo editing software You can see an example of this at the 10-second mark in the video. Finally, make sure your laser printer setting is set to the highest quality to make sure your transfer photos would come out great.
Once you have your mirror image printed and the other supplies gathered, let’s get started!
How to Photo Transfer to Wood in 5 Easy Steps
1. Begin by sanding your raw wood slice so the surface is nice and smooth and when you apply the photos printed in inkjet printer, it will lay flat and adhere to the surface.
2. Apply an even coat of Dead Flat Finishing Cream. You don’t need to apply a thick layer but will want a decent coat so that the actual photo and ink can stick.
3. Using your fingers, wipe out any air bubbles and smooth down the surface to make sure the image is perfectly flat with the wood. Now you can place the wet printed side of the paper onto your wood surface. Use a brayer or your hands to apply pressure and make sure the entire back of the paper is in contact with the transfer product again to avoid air bubbles. Then, let this fully dry.
4. After it has dried, wet it with water using your small brush. Once wet, begin to scrub the plain paper until it is completely removed. You should be able to see your transfer photos onto the wood. Let it dry completely.
5. Finally, apply another coat of Dead Flat Finishing Cream. Not only will this protect your photo transfer to wood project, but it will also help make your transfer photos ‘pop’ more. Again, allow this final layer of finishing cream to fully dry.
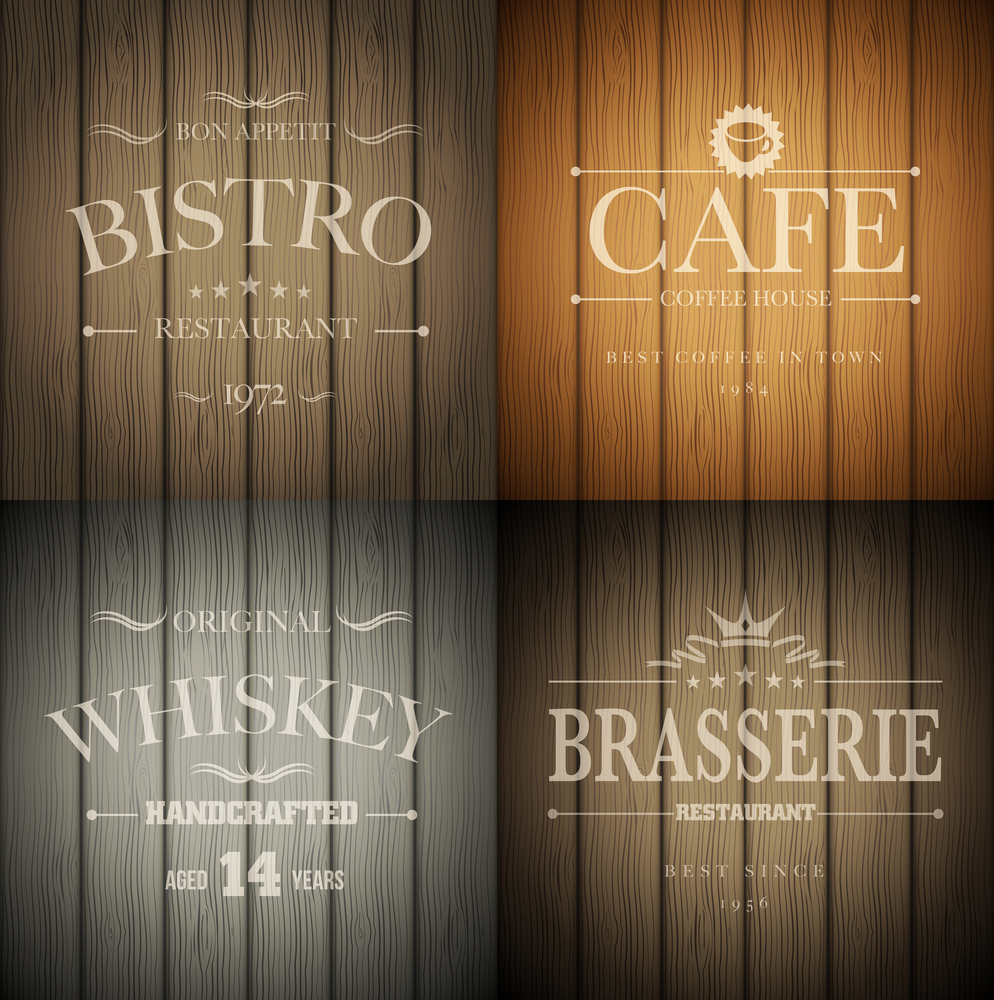
Printed Image On Wood For Your Brand or Business
If you’re looking for a unique and stylish way to promote your brand or business, photo transfer to wood could be the perfect solution. There are endless possibilities when it comes to transferring photos to wood for branding purposes. You can print your business logo and company names and use it as a great gift idea for events or you can design your establishment with wooden walls with fine art productions, nostalgic old photos or with nature and landscapes.
Wood is an eco-friendly material that can be sourced from sustainably managed forests, making it a great choice for businesses that are committed to environmental responsibility. Photo transfers on wood are also durable and long-lasting, so you can be sure that your promotional materials will make a lasting impression.
There are a few things to keep in mind when choosing a photo for wood transfer as your branding solution. First, the wood grain will affect the final appearance of your DIY photo transfer, so it’s important to select a type of wood that will complement your design. Second, the printing process itself can add a distressed or antique look to your image, so if you want a pristine finish, make sure to set your laser printer to the highest quality and choose the right printer paper, be it a wax paper, regular paper or photo paper. Finally, choose only the best top coat for all your wood products such as the Dead Flat Finishing Cream.
Get Creative with Real Milk Paint
There are tons of fun and crafty ideas that you can do for your DIY photo transfer to wood. Get creative with Real Milk paint today and enjoy your photo transfer to wood art today. Some popular ideas for printed wood are:
- Make a gallery of your favorite images and hang them on your wall.
- Make unique holiday greeting cards from wood.
- Wooden Signs with Funny Sayings
- Personalized Wooden Picture Frames
- Wooden Wall Art with Inspirational Quotes
- DIY String Art Projects Using Wood Planks
- Rustic Mason Jar Centerpieces with Wood Planks
- Barnwood Photo Collage Frames for the Wall
- Customizable Wooden Growth Charts
- Handwritten Recipe Boards Made from Reclaimed Wood
Really, the choices are endless! Visit www.realmilkpaint.com for more tips and craft ideas.