Part of finding your kitchen Zen is striking the perfect balance between form and function. Engraved cutting boards help you find that balance by providing a beautiful canvas for any fabulous idea that strikes your fancy. With just a few coats of food-safe milk paint, you can create a DIY painted cutting board that showcases your artistic acumen on a finished piece that’s both usable and displayable. Keep reading to learn more about how to paint engraved wood cutting boards, the best food-safe paint for engraved cutting boards, why you might want to paint yours, and tips and tricks for helping your DIY painted cutting board turn out right.
Best Food Safe Paint for Engraved Cutting Boards
While there are many food safe paints available for wooden cutting boards, milk paint like Real Milk Paint lets you add nontoxic color that is easy to apply and is safe for use around kids and pets. Made from all-natural ingredients like milk casein and with no harsh chemicals or volatile organic compounds (VOCs), milk paint typically comes in a powdered form so you can mix just what you need for your DIY painted cutting board, especially when you need small amounts of different colors to detail engraved cutting boards.

If you do mix a little too much of this biodegradable medium, you can reuse mixed milk paint for up to two weeks or add it to your compost bin for easy disposal. Cleanup after painting your DIY cutting board requires just a little soap, water and elbow grease.
Reasons for Crafting a DIY Painted Cutting Board
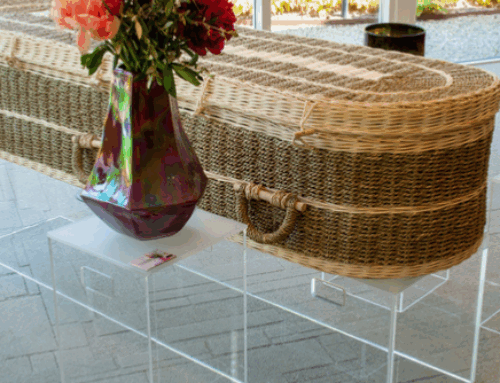
Reasons abound for creating a DIY painted cutting board, including the wish to display your artistic skills in your kitchen. Likewise, charcuterie serving boards play a pivotal role in entertaining for some, providing a beautiful canvas on which to display and present cheese and cured meats to family and friends. In busy kitchens, cutting boards with color-coded painted handles enable chefs and home cooks to quickly grab a food safe slicing surface used for specific things, such as vegetables, meats and herbs.
TIPS AND TECHNIQUES FOR PAINTING CUTTING BOARDS
Crafting a painted cutting board is typically a quick and simple project those with even minimal arts and crafts experience can successfully complete. The process itself requires a few supplies that you need to gather before you add color to your wood cutting board. These include:
- Milk paint
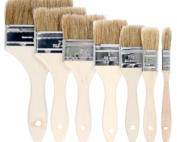
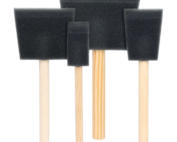
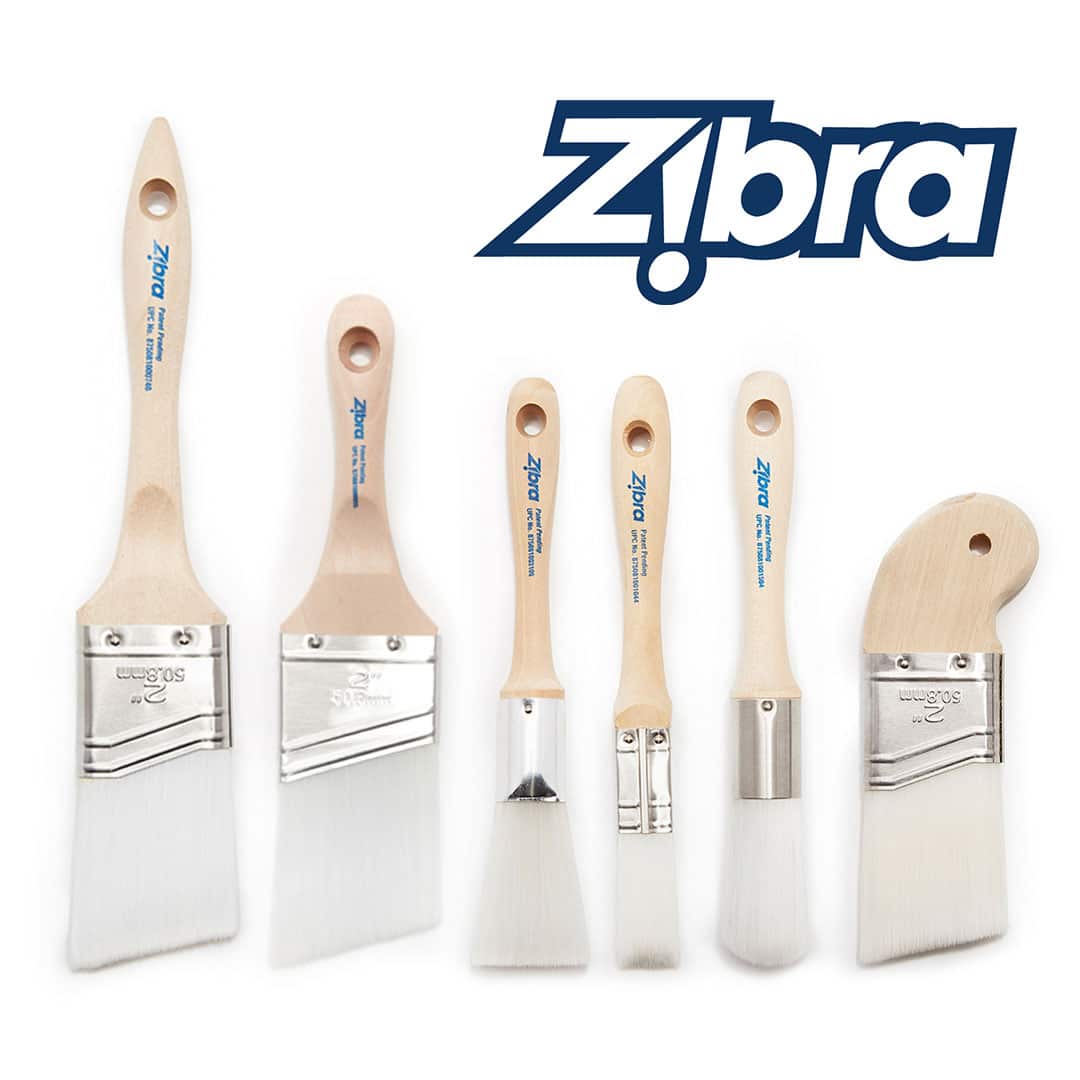
- Small paintbrush
- Painter’s tape
- A pencil
- Top coat
- Stencils (optional)
Painted Cutting Board Basics
If you just want to personalize wooden cutting boards to mesh with your kitchen space, the painting part is simple. Just mix up the paint colors you need for the task — Real Milk Paint powder mixes with water at a 1:1 ratio — then apply them with a small paintbrush.
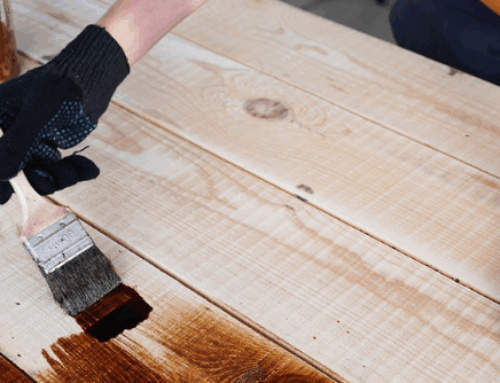
Let the first coat dry, then add a second coat on the wooden surface. Once the second coat dries, brush or spray on a matte top coat for a muted finished piece or add gloss sealer to achieve a more glass-like effect. You can also seal the wood cutting board you create with food safe mineral oil or finishing oils like Pure Tung Oil and Hemp Oil — both food safe products from the Real Milk Paint Co.
Painting Cutting Board Handles
Painting cutting board handles provides a fast and easy way to color-code pieces for use. For example, you might paint the handle area of wood boards blue to indicate you use it for fish, red for beef, green for vegetables and yellow for fruit. This lets you grab the cutting board you need quickly to save time in the kitchen. To paint the handle area of wood boards, simply mark off the area you wish to paint with painter’s tape, then add color and seal, pulling off the painter’s tape after everything dries to maintain a clean, crisp line of demarcation on your cutting board.
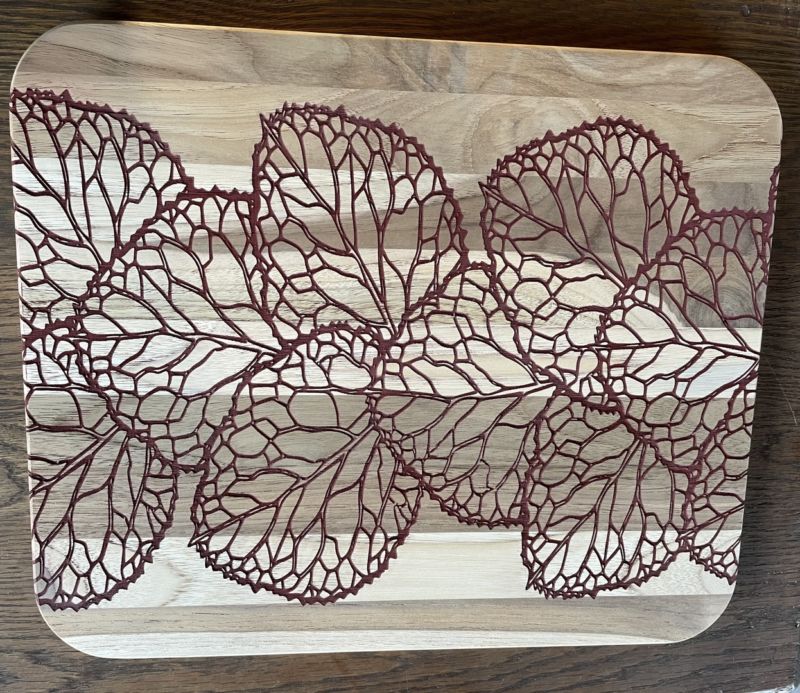
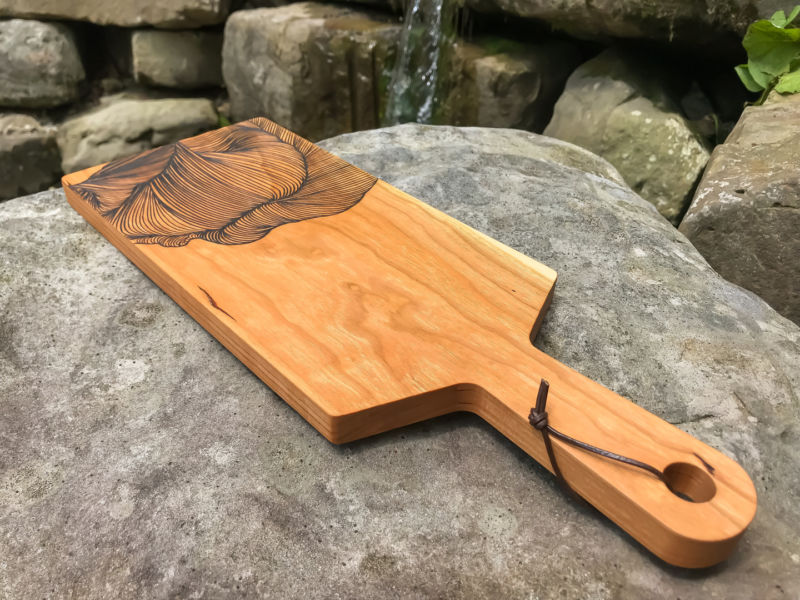
Detailing Cutting Board Engravings
Adding details to engravings on wood boards is a simple way to spruce up customized pieces you’ve bought yourself, been gifted or made with your own wood-burning tool. To do this, mix up a couple of colors of Real Milk Paint, grab a small brush and adorn the DIY painted cutting board with your preferred palette. For instance, you might add flag-themed paints to projects with burned-in state shapes, brighten the flowers on floral-embellished wooden boards with bright springtime hues or fill in dots and designs with darker shades to create a bold contrast.
Using Your Fabulous Idea for Cutting Boards
Create your own DIY painted cutting board design when you want a craft project that utilizes your artistic skillset. Draw pencil lines on the wood surface in a design that strikes your fancy, taking care to make them dark enough to stand out for good visibility. Next, mix your milk paint and start filling in the color with small paintbrushes. It helps to work with just one color at a time, letting it dry and adding more coats before moving on to the next color. While this process might be more time-consuming than coating everything all at once, your finished piece will benefit from the care and time you take adorning your wood-cutting board. As with other projects, once the color is how you want it, add a top coat to seal your design and periodically maintain it using our cutting board oil to preserve your creation.
Engraved cutting boards go through a lot, so painting and sealing the wood surface makes sense. Not only does this craft process help protect the wood from bacteria and improve its wear, it also lets you beautify an otherwise plain cutting board with custom color. When you’re ready to get started creating a painted cutting board, the Real Milk Paint Co. has you covered with paints, tools, finishing oils and wood waxes to make your DIY painted cutting board. Get started today and call us here: (800) 339-9748 for more information about our products that can help you create your masterpiece.

Check out some firsthand reviews/comments from customers who used our food safe paints on their engraved cutting boards at home:
“I absolutely LOVE the paint samples I received from Real Paint Co. They were easy to mix and blended so nicely!! They were perfect for the serving boards I made as they are food safe. I finished them with the hemp oil which I LOVE but I cannot WAIT to try the half and half! 100% recommend!!!”
“I absolutely love this paint! Adding food grade safe color to my engraved pieces is exactly what I have been looking for! It’s so easy to use and finishes up beautifully! A little goes a long way. Give it a try, the sky’s the limit!”