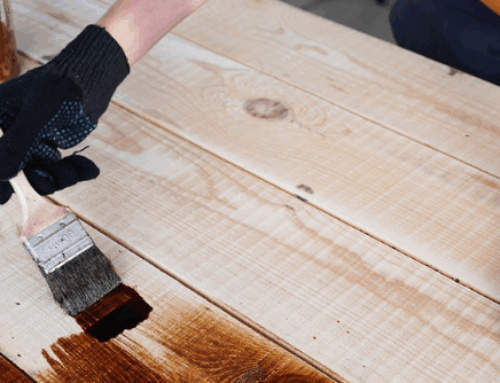
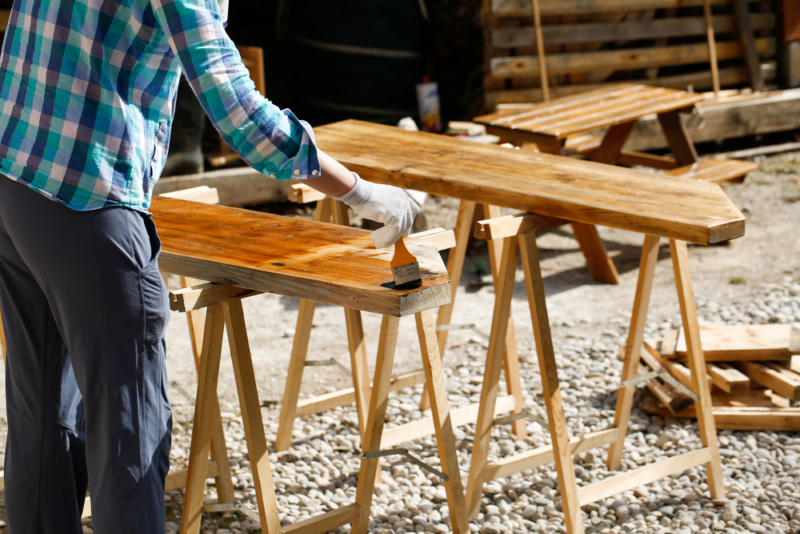
 Mastering the fine art of finishing wood fibers helps woodworking enthusiasts showcase the grain’s natural beauty and enhance the furniture’s longevity. Even the most skilled craftspeople can run into common wood finishing problems that mar the look of their work and affect the piece’s durability.
From bubbles, blushing, and brush marks to dust nibs, orange peels, runs, and sags, these common problems with finishing wood may lead to more significant imperfections if you don’t address them when you notice them. Let’s look at the most frequently occurring issues with finishing wood fibers and tackle each dilemma with an expert solution, whether you’re oil finishing furniture or bringing out its beauty with Real Milk Paint.
Identifying Common Wood Finishing Problems
When you understand what causes these common problems in wood finishing, you’re more apt to identify when mistakes occur. Use this list when you need help recognizing visual issues with your work and want an effective correction for the damaged area.
Blushing
Blushing occurs when your finish turns white, light or milky after application. Moisture trapped within the finish typically causes this issue, often due to high humidity levels or finish application in colder temperatures.
Bubbles
Bubbles form during the application process when air gets trapped in the finish, stain or paint. This simple-to-spot issue causes unsightly lumps and bumps on the wood surface instead of a smooth, professional look.
Runs and Sags
Applying a finish that is too thick and a few drips run down the wood surface results in runs and sags. This problem detracts from the overall appearance of your DIY projects due to using too much product.
Brush Marks
Brush marks happen when you leave visible brush application lines in the wood finish, whether you’re refinishing a project or staining bare wood. These flaws prevent you from achieving a smooth, uniform finish on the wood grain, and they mark projects as amateurish.
Orange Peel
Orange peel describes a finish—paint or stain—that resembles the textured, bumpy appearance of the fruit’s skin. Improper application techniques for the final coat or less-than-ideal spraying conditions cause this common problem.
Dust Nibs
These tiny imperfections with a raised look called dust nibs occur when you don’t create a dust-free environment for finishing wood or don’t remove all the residue from the surface before you begin. The dust particles that settle or stay behind as the wood surface dries mar the uniformity of the stain, paint or clear finish.
Understanding the Causes of Common Finishing Process Problems

Understanding the root causes of common problems in wood finishing goes a long way to prevention. Explore these underlying factors when things go wrong to troubleshoot when you need to fix an existing issue.
Environmental Factors
Where you apply your finish matters because humidity, temperature and airflow influence the drying and curing process. Poor environmental conditions may lead to defects such as blushing and bubbles or cause wood fibers to dry unevenly.
Application Techniques
Poor application techniques cause runs, sags, orange peel and brush marks, so mastering the method you want to use is essential to getting the finish you desire. All application methods, including brushing, wiping and spraying, require a good technique for a smooth, even look across the entire surface.
Material Quality
Using high-quality materials makes all the difference in your DIY projects and significantly impacts the appearance of your final result. For instance, inferior finishes may not adhere well to bare wood, or the finishing oil you use may not cure properly, leading to scratches and swirl marks.
Solutions and Prevention Strategies for Common Problems
Encountering problems during wood finishing is part of the learning process, and so is effectively addressing those issues when they arise — or preventing them from happening in the first place. These targeted solutions for common problems help you improve the aesthetics of your piece and enhance its durability.
Fixing Blushing
Apply a fresh coat of the same finish to fix blushing. Adding a new layer usually dissolves the moisture trapped within the layers and eliminates the milky look. To prevent blushing, control the temperature and humidity of your working environment. Most paint and stain finishes have manufacturer-recommended application conditions, usually requiring moderate humidity and temperature plus lots of ventilation.
Eliminating Bubbles
Pop bubbles as they form in your wet finish with a brush, or gently blow on the surface for a quick fix. If you notice bubbles after the finish dries, lightly sand the area, clean the residue, and add more finish. To prevent these mistakes, never shake the container—instead, gently stir the finish before applying it to avoid creating air bubbles. Always apply your stain or clear finish in thin coats with smooth, even strokes to reduce the likelihood of bubbling on your furniture.
Correcting Runs and Sags
Brush away runs and sags if you notice these issues while you have a wet finish. If the finish has already dried, lightly sand and scrape the area to create a level surface, wipe off the residue with a clean rag and then apply more finish. Rubbing or brushing on the finish in thin, even coats helps prevent runs and sags, with thick coats being their primary cause. Add less product to your brush to prevent overloading it, and then apply the finish at a consistent speed for thinner coats.
Minimizing Brush Marks
Visible brush marks and swirl marks after the finish dries require light sanding with fine-grit sandpaper and then reapplying the coat. To avoid them, use a high-quality paintbrush and a lighter touch. Too much pressure and repeatedly going over the same area causes the problem. Instead, use thin, consistent brush strokes. Sometimes, you may need to thin down the finish to avoid brush marks when it dries.
Preventing Orange Peel
When you discover orange peels, sand down the surface with fine-grit sandpaper to smooth out the texture. Wipe up the residue with a clean cloth and then reapply the stain or paint finish. You can usually prevent this issue by thinning the finish’s viscosity before use with a spray applicator and double-checking the pressure on your sprayer. A consistent distance and speed during spraying also help, as does application in a well-ventilated spot that encourages even drying.
Removing Dust Nibs
Remove dust nibs by sanding the surface with fine-grit sandpaper, cleaning the area thoroughly, and applying a final coat of finish. Avoiding dust nibs means ensuring a clean, dust-free place to work on your finishing process. Use a clean, dust-free rag and our Odorless Mineral Spirits to remove all dust and residue before you apply the first coat, and keep the environment controlled with an air purifier to minimize dust in the air.
Advanced Tips for a Flawless Finish
Getting that flawless finish you want isn’t just about correctly applying the paint or stain — it’s also about planning with purpose and choosing the right tools for the job. Even if you have a solid understanding of basic concepts, you can elevate the quality of your finish with advanced tips and techniques that help ensure a durable, professional-looking result.
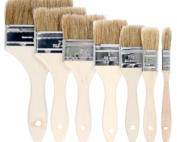
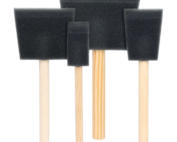
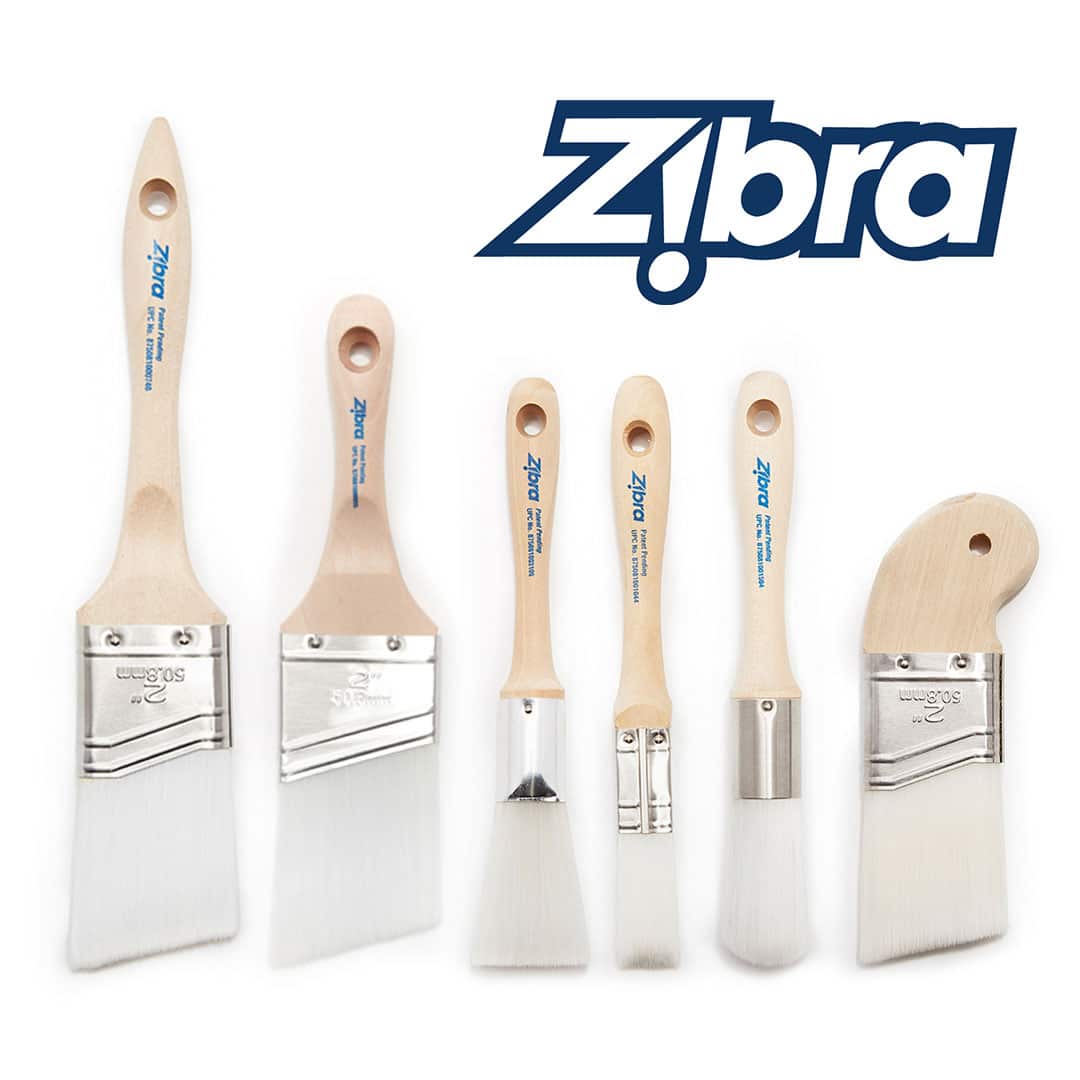
Choosing the Right Tools
Using the correct applicators goes a long way in getting good results, so always choose high-quality options. For example, top-notch paint brushes like our Zibra brush line work great for water-based finishes like our Real Milk Paint. These brushes feature fine synthetic bristles that stay in the brush so they don’t shed during the finish application. However, natural bristles tend to work better for varnishes and polyurethane products. Likewise, spray systems need proper calibration to deliver your product at the correct pressure.
Wood Surface Preparation
Clean bare wood surfaces thoroughly with a tack cloth and tri-sodium phosphate to remove all dust, oils, and signs of previous finishes. While cleaning, look for areas that need TLC and fill in cracks, gaps, or divots with Real Wood Filler. Wood sometimes has uneven pores, so finishing it usually creates an uneven look. If this happens, consider a sanding sealer or wash coat to enable uniform absorption of your final coat.
The Role of Sanding
Sanding between coats helps you get the smoothest possible results. Sanding the scratches and imperfections in bare wood evens out the surface, but sanding between coats creates a mechanical bond that aids adherence. Even after adding the final coat, a light pass for sanding scratches and removing dust nibs can smooth out minor mistakes, as long as you don’t cut through the finish layers.
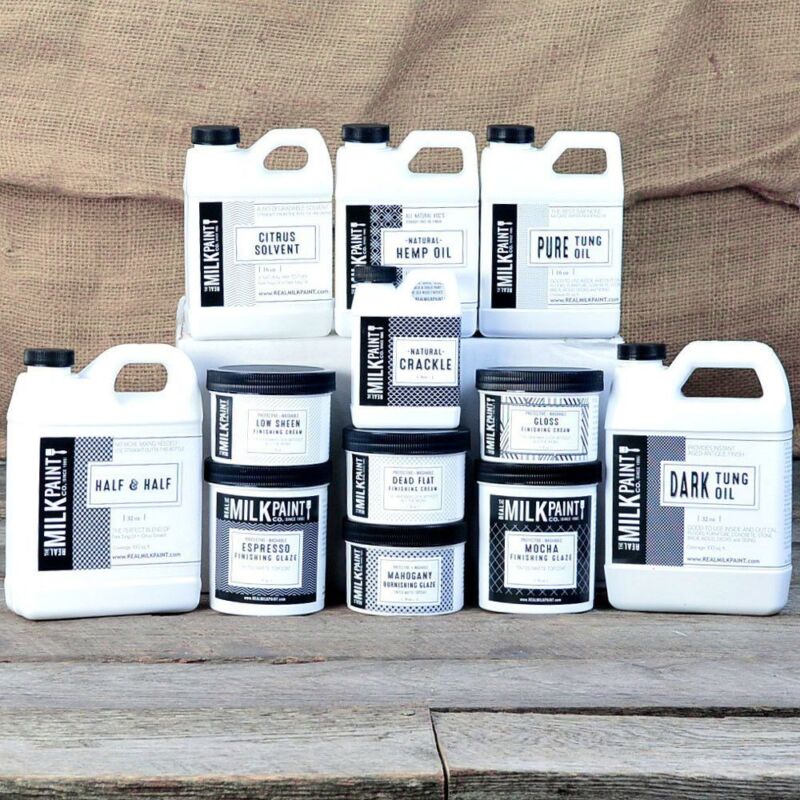
Keep Wood Surfaces in Pristine Condition With The Real Milk Paint Co.’s Wood Finishing Products
You put a lot of work into your woodworking projects, and keeping them looking their best over time is a top priority. The Real Milk Paint Co. helps with that by providing first-rate products that enhance your finishing process and help you maintain the beauty of your finished pieces. Shop our range of finishing oils and other products to bring out the beauty of all your wood-finishing projects.