Credit: Deojay Design + Consulting
With time and use, all flooring loses its luster and shine, and even the best quality hardwood starts showing its age. Likewise, spaces with concrete flooring such as garages can come across as utilitarian and unfinished if you convert the area into actual living space. While you can always install carpet or replace the flooring, a more practical and economical option is refinishing it with Real Milk Paint and stencils that precisely match the overarching home decor theme.
Prepare the Floor
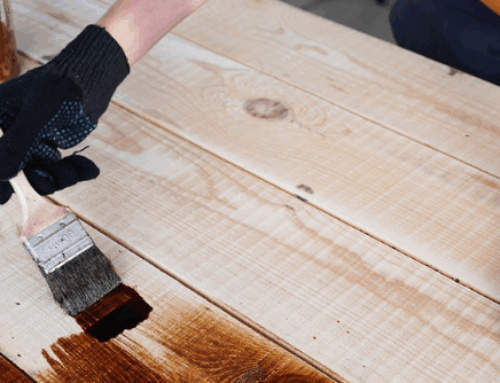
No matter if you’re stenciling a concrete or wood floor, the first step in the process is preparing the surface so Real Milk Paint adheres to it well. This starts with a thorough cleaning to strip off any residue from cleaning products using a product like TSP from the Real Milk Paint Co. Milk paint permeates raw wood and other porous surfaces like unfinished concrete or unglazed terra cotta. It’s not recommended for stenciling factory finishes like glossy paint, polyurethane, or other finishes. This means you need to sand the surface down or use a stripper like Soy Gel to bring the material back to its raw state.
Select Colors and Styles
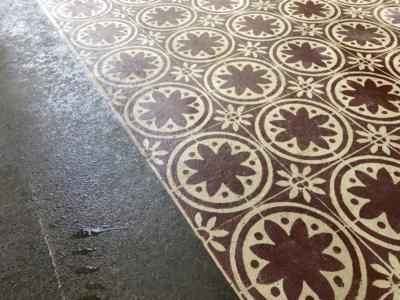
Lori M: Barn Red and Cheesecake, sealed with Pure Tung Oil
Understanding how to stencil a concrete floor, hardwood stairs or flooring requires an eye for color and design. You need to select a base coat color that contrasts well with the design you wish to stencil onto the surface. For example, if you want a vintage French farmhouse result, you might go with a pale blue like Stone Blue Real Milk Paint for your base coat and an off-white shade like Parchment from the same line for your stenciled design. Additionally, you need a large stencil that suits the space you’re decorating. For instance, to complete the French farmhouse look mentioned above, you might select classic fleur de lis patterns to give your room a well-balanced look.
Add a Base Coat
The first step to adding a Real Milk Paint base coat is taping off the edges of the room with masking tape. Once you do this, you can easily cover wood or concrete floors quickly by using a roller. Milk paints typically dry very quickly and always dry overnight. This means that when the first coat feels dry to the touch after a few hours, you can add a second coat for overnight drying, then start stenciling on your designs the next day.
Create Your Design
Lori M: Barn Red and Cheesecake, sealed with Pure Tung Oil
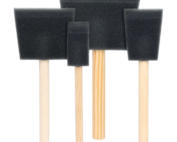
Knowing the starting point for stenciling wood floors or concrete surface is key to achieving great results. Use a measuring tape to discover the size of each edge of your room, then use those measurements to find the center. Once you mark off the right spot, grab your floor stencil, milk paint, and fixative. While some floor stencils have an adhesive backing, many require spray adhesive or painter’s tape to keep them in place while you fill them in with Real Milk Paint. Work from the center out, ensuring that you space out the stencil precisely each time you move to a new space. Match it up as best you can around the edges of the room, then allow the floor to dry.
Finish Your Renovation
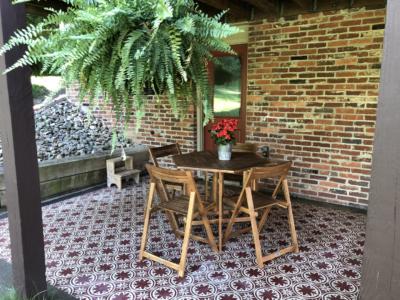
Now that you know how to stencil a wood floor and concrete spaces, all that’s left is finishing your renovation. Milk paints such as Real Milk Paint have long-term durability, so you don’t have to do anything else to finish the floor, especially if you want to achieve rustic distressed results that come out even further with a bit of time and wear. If you want a sleeker finish, however, you can use any number of products from the Real Milk Paint company to put the cherry on top of your design. For example, finishing creams can flatten the finish or add a bit of shine, depending on your needs, while finishing glazes lend a touch of satin luster while slightly darkening paint tones. Or, use Pure Tung Oil, Half & Half, or Hemp Oil to seal the milk paint stencil over raw, porous surfaces. No matter how you decide to finish your renovation, when you use Real Milk Paint, you get results that last.
See More Inspiration Below


Credit: ReImagined Surfaces