


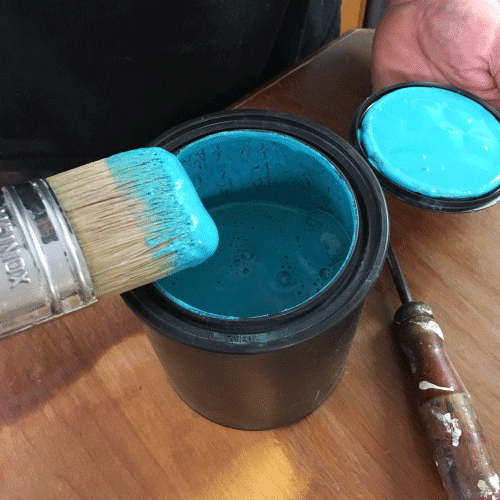
This June, our color of the month is Caribbean Blue. This bright, eye-catching hue is vibrant and adds a pop of color to any piece of furniture or accent wall. Apply it to an upcycled dresser, as our RMP team did, or use it in a sunny sitting area, living room or hallway. This ocean-inspired shade adds plenty of spunk to your space regardless of your decorating choices.
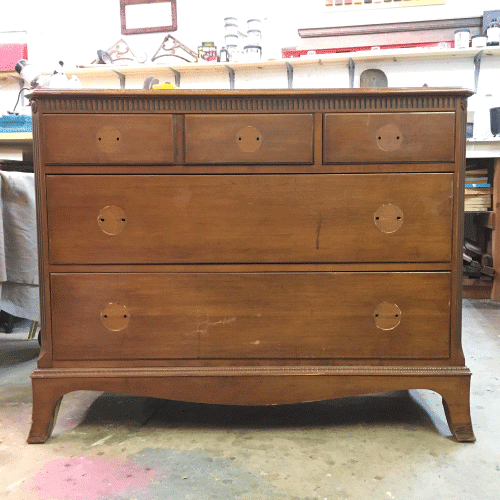
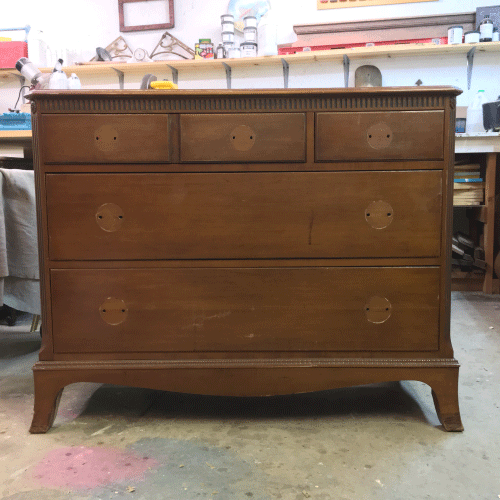
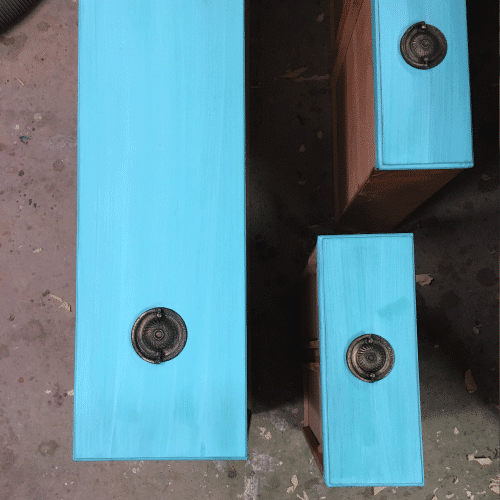
Our creative project for June involved breathing new life into a beautiful old wooden dresser that the Real Milk Paint team refinished and restored to a gorgeous shade of turquoise that resembles the peaceful, calm waters of the Caribbean Sea.
Minimal Prep Work
Perhaps the best part about this restoration is how little prep work it required. That’s why nontoxic, water-based milk paint is so popular — a DIY project that first seems daunting suddenly seems doable when you realize all that’s needed is a little bit of sandpaper. Forget about hours of stripping or other prep work — our easy-to-work-with water-based paint can be applied directly to your furniture’s surface without priming.
We began by lightly sanding the entire surface — top, bottom and sides, to improve the adhesion of our Caribbean Blue paint to our dresser’s surface. Because our environmentally friendly Real Milk Paint offers a matte, velvety finish, we knew it would look striking when applied to the antique wood of this dresser.
Our Technique: 7 Easy Steps
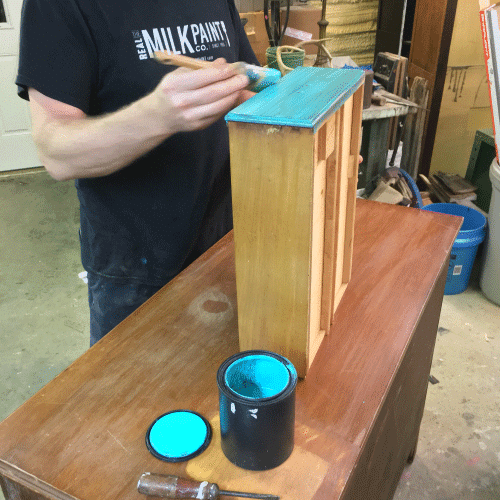
Restoring this dresser was insanely easy. It only took two coats of our Caribbean Blue milk paint for a total transformation.
At times, the dresser surface looked quite transparent, and that’s why two coats were required. This hue can transform from partially see-through to opaque very quickly, so depending on the look you’re after, you can use one or two coats.
To use our strikingly bright blue-green paint on your own refurbishment or DIY project, follow these steps:
1. Remove any existing hardware (drawer handles, for instance).
2. Lightly sand down surfaces to be painted.
3. Mix your paint.
4. Apply one coat and let it dry.

5. Apply another coat of paint and let it dry.
6. Apply a coat of finishing cream to seal in the milk paint.

7. Reinstall hardware.
After the paint dried, we applied a low-sheen finishing cream to help seal in the beautiful blue-green color. Using Finishing Cream as the final application is important for two reasons. First, it seals in the milk paint, making the color ‘pop’.

It’s important to use finishing cream as the final application so that you can properly apply the wax and prevent it from re-activating the milk paint.
Pro Tip: If you notice oil or stains bleeding through the milk paint, apply a coat of finishing cream on the spot, and apply another coat of milk paint after it dries. Finishing cream is not only a protective barrier but also blocks stains, oils, and other bleed-through marks.
The Perfect Finishing Touch
As with so many other DIY projects, the difference is in the details. When the major paint and sealing work was complete, Dwayne from our RMP team used a bit of dark brown soft on the delicate border etchings of this dresser for a distressed look. White soft wax was also used on the flower accents to highlight these details.
The next time you venture out to yard sales, keep your eye out for a vintage accent table or credenza that could be transformed with a few coats of this sailboat-inspired shade.
Submit your project online today for a chance to be featured on Real Milk Paint’s blog and social media! We love to see your projects, and we hope you love Caribbean Blue as much as we do.


