 Halloween is just days away which means there is still time to finish decorating your regular pumpkin – and we know the best way to do it. With Real Milk Paint, you can design the coolest pumpkins on the block!
What is Real Milk Paint?
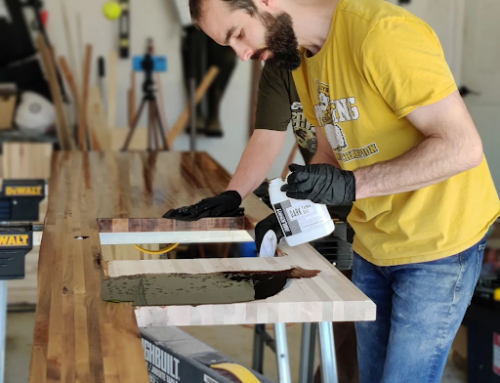
It’s an environmentally-friendly, non-toxic, paint that’s safe, fun, and easy to use! Made from 100% organic material, it’s safe for kids and pets alike and the perfect project for all your Halloween decorating needs.
You can easily create a smooth, matte finish and mix pigments to create any of your favorite colors. Our exclusive formula makes Real Milk Paint last longer than your traditional craft paint products you find on sale at the store.
After being mixed, it remains stable for at least two weeks, making it the smart choice to paint pumpkins with and all your favorite DIY projects this fall season.
Need Some Halloween Decorating Inspiration?
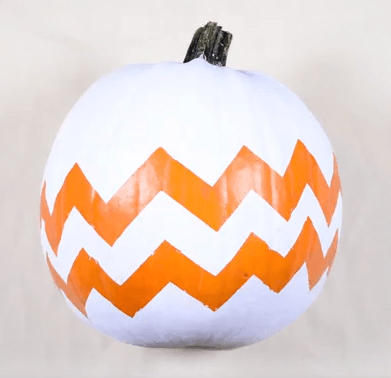
Check out this video showing you how to create a fun “Charlie Brown” painted pumpkin.
Create this fun design in five easy steps!
Step 1. Get a bucket and fill it with water and soap. Take your orange pumpkin and soak it, then take a cleaning brush to wipe off any debris that typically sticks to your pumpkin. Take a towel and dry it and set it on a flat surface.
Step 2: Get out your roll of painter’s tape. Rip off pieces about 4 inches long and stick to your pumpkin in an up and down diagonal pattern completely around the pumpkin. You can choose to do two rows or one, for this video we used two rows.
Step 3. Grab your can of milk paint and get ready to mix. When you open your can you’ll find a bag of the Real Milk Paint powder. We recommend you pour one cup of powder back in the can followed by one cup of water. *The recommended ratio is always one part powder, one part water.
Simply snap the lid back on and shake your can. Make sure to shake it nice and good so it mixes well and comes out smooth. You want to shake it so you don’t see any chunks.
Step 4. If your pumpkin seems very waxy you can add 25% Ultra Bond to the paint. This will help it stick better and not peel off. If a bit of flaky paint is not a big deal then just go for it without Ultra Bond.
Step 5. Once you’re done shaking and the color is perfect, open your can. Grab a paintbrush and start painting. Don’t worry about painting over the painter’s tape, that’s what it’s there for!
Step 6. After you’ve put on a coat of Real Milk Paint and have let it dry (it takes about 5 minutes), peel off the painter’s tape and BOO! – you have a sweet painted pumpkin ready to put on display.
Get Creative with Real Milk Paint and Start Painting Pumpkins!
This video is just one example of how you can decorate your pumpkins this Halloween. You can mix colors and choose from any of our finishing oils, creams, and pastes, and waxes to create any design you choose. Show off your creativity and have fun, the options are endless! Plus, what’s great about using Real Milk Paint is that it dries quickly so you won’t have a huge mess to clean up and it’s 100% safe for your kids.
So, don’t be shy and start using Real Milk Paint for all your DIY art projects and decorating needs, there are plenty of super fun ways to use it not just for Halloween but for all your favorite holidays. To learn more about our paints, feel free to contact us at Real Milk Paint today!